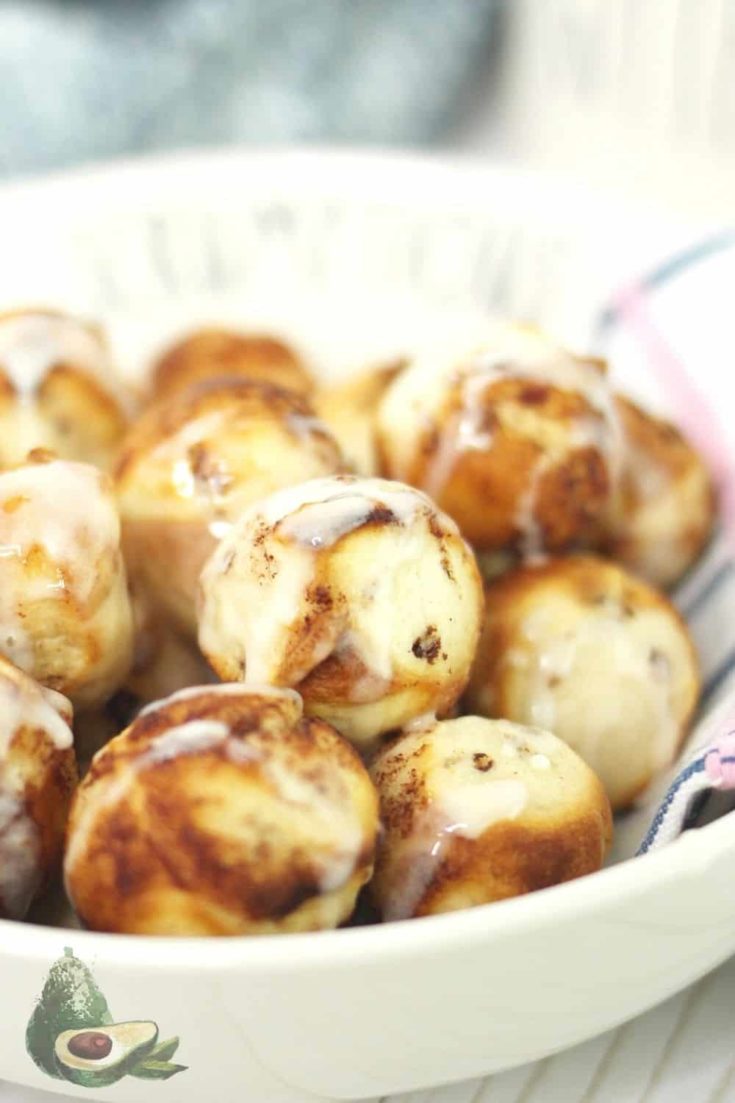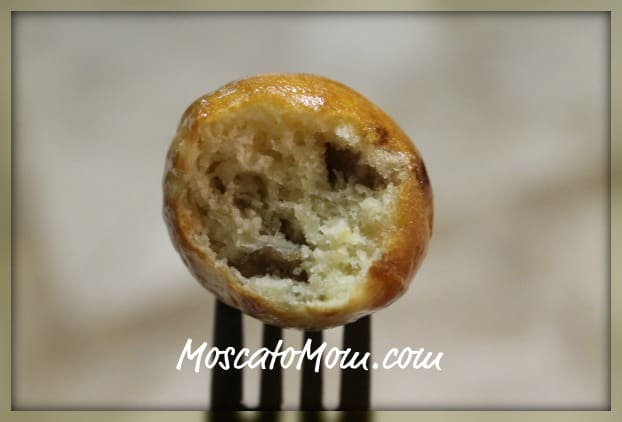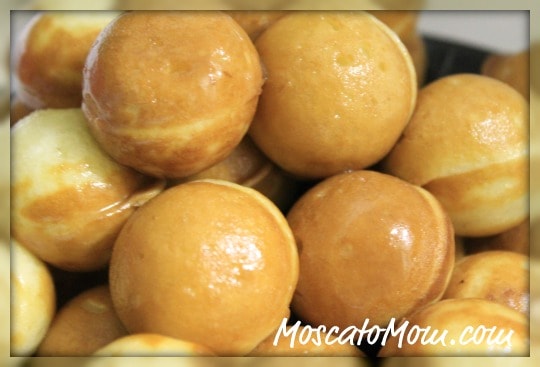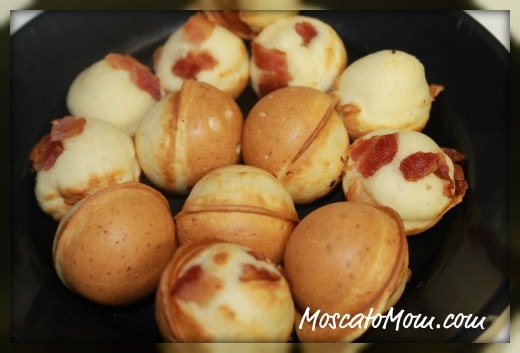
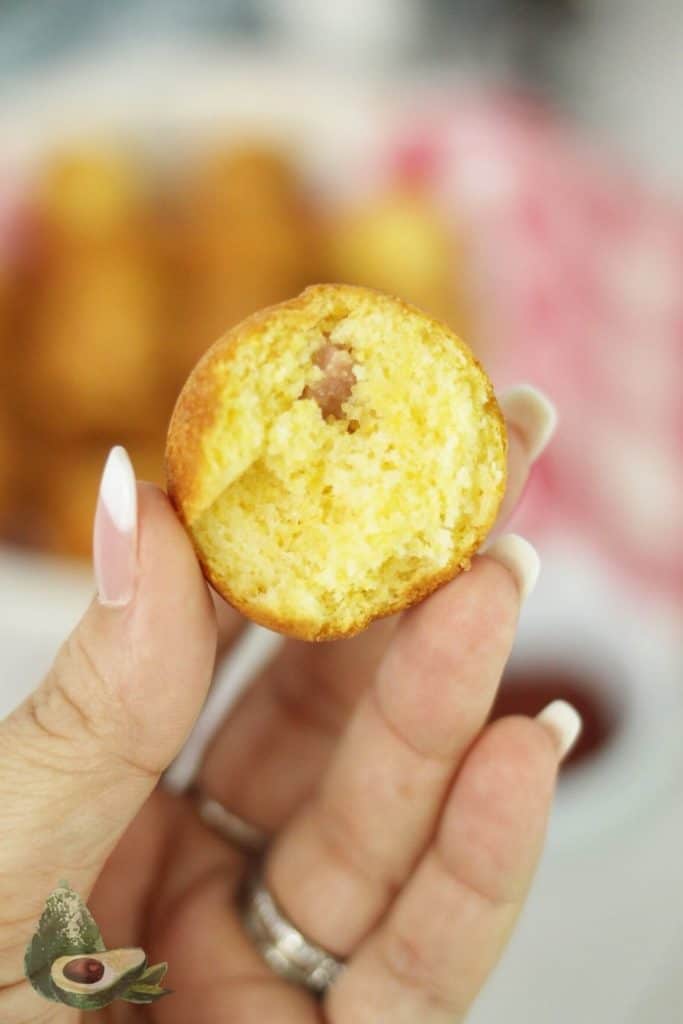
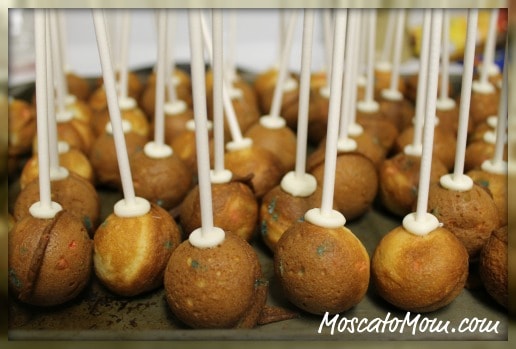
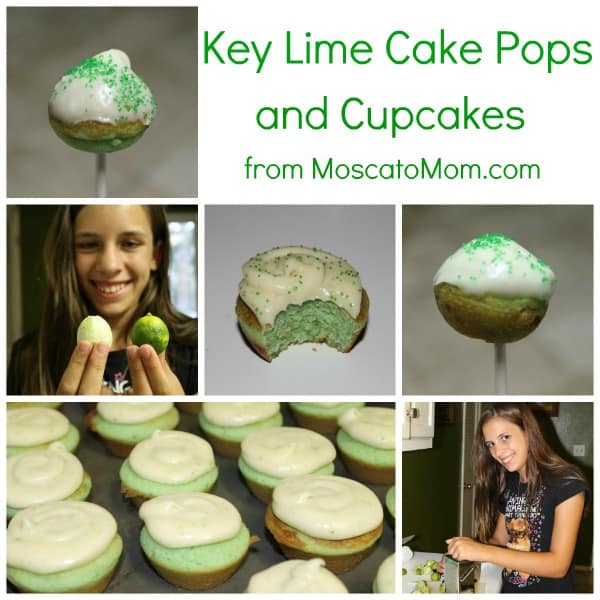
These Mini Corn Dog Cake Pops take only four ingredients and four minutes to have the perfect kid-friendly lunch or snack to go!

My girls love corndogs and I am always looking for easy, quick snacks to feed them when they come home from school to tide them over until dinner.
We are not big "snack food" people, so I need REAL food that is easy and small enough to be a "snack." Well, today I found THE perfect one! And they are FABULOUS!
This morning while perusing Pinterest I ran across this Pin from MoneySavingMom.com:
My first thought.... I CAN DO THAT IN THE CAKE POP MAKER!!
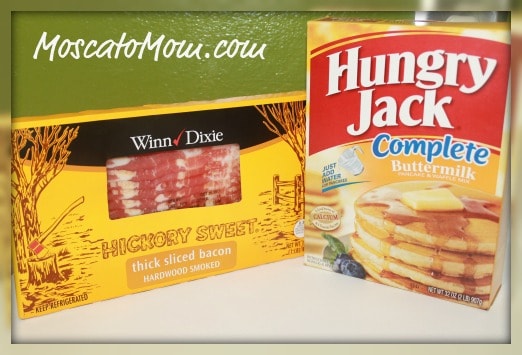
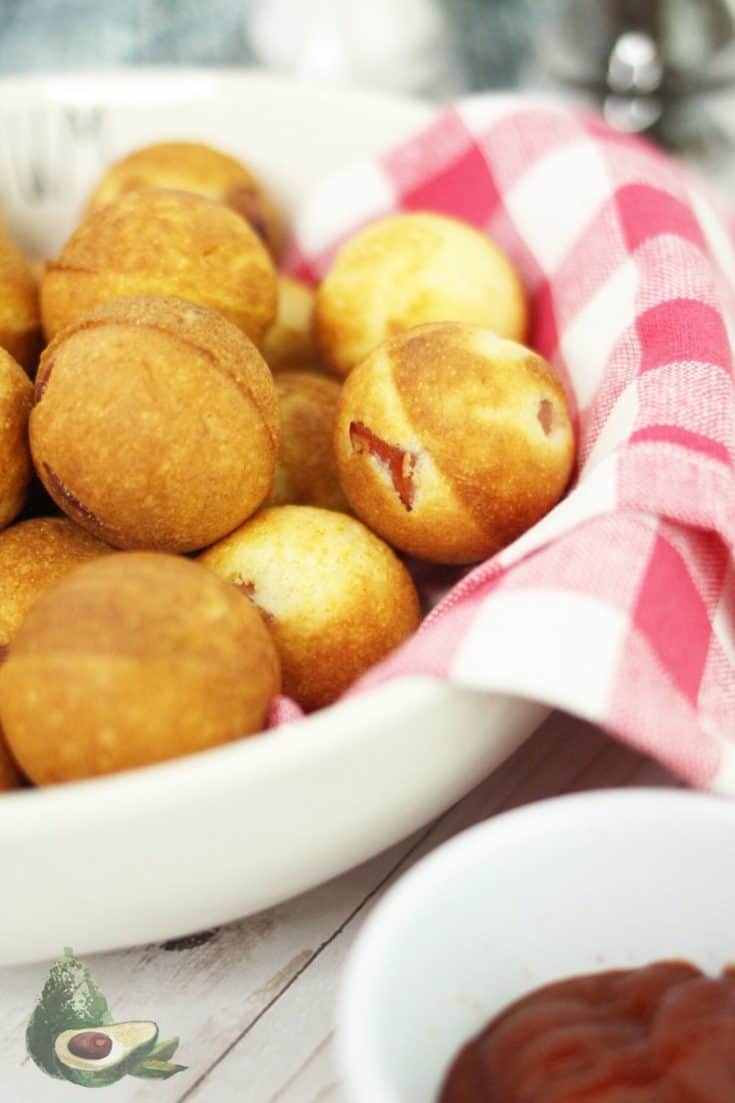
Jiffy Mix corn bread is a staple for corn dogs - it has just enough sweetness and stays moist.
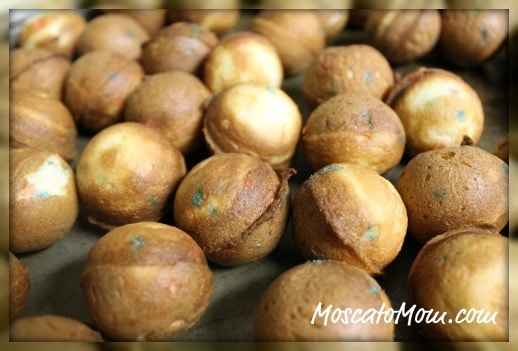
One of the reason I love these Corn Dog Cake Pops so much for kids is that you can cut the hot dog pieces teen tiny for younger kids or larger for bigger kids.
You can use any brand of hot dog that you want - just make sure you cut your hot dog pieces small enough to be bite size for your little ones.
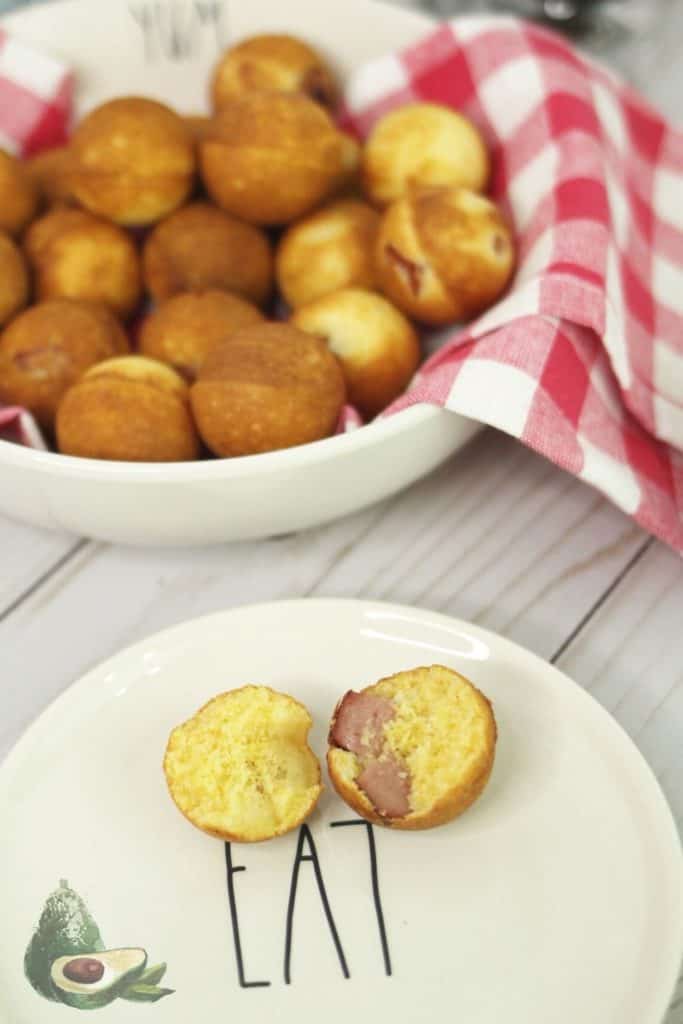
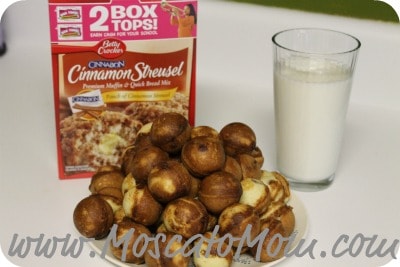
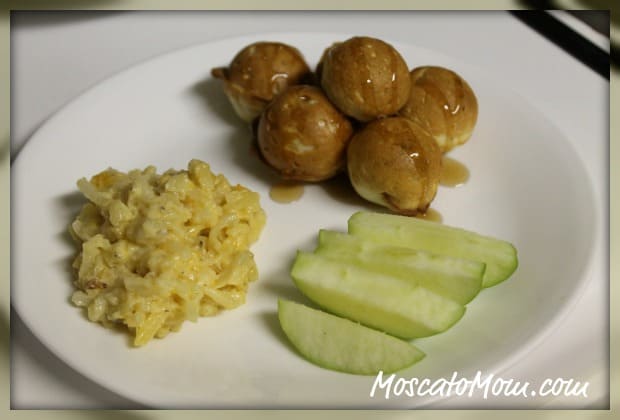
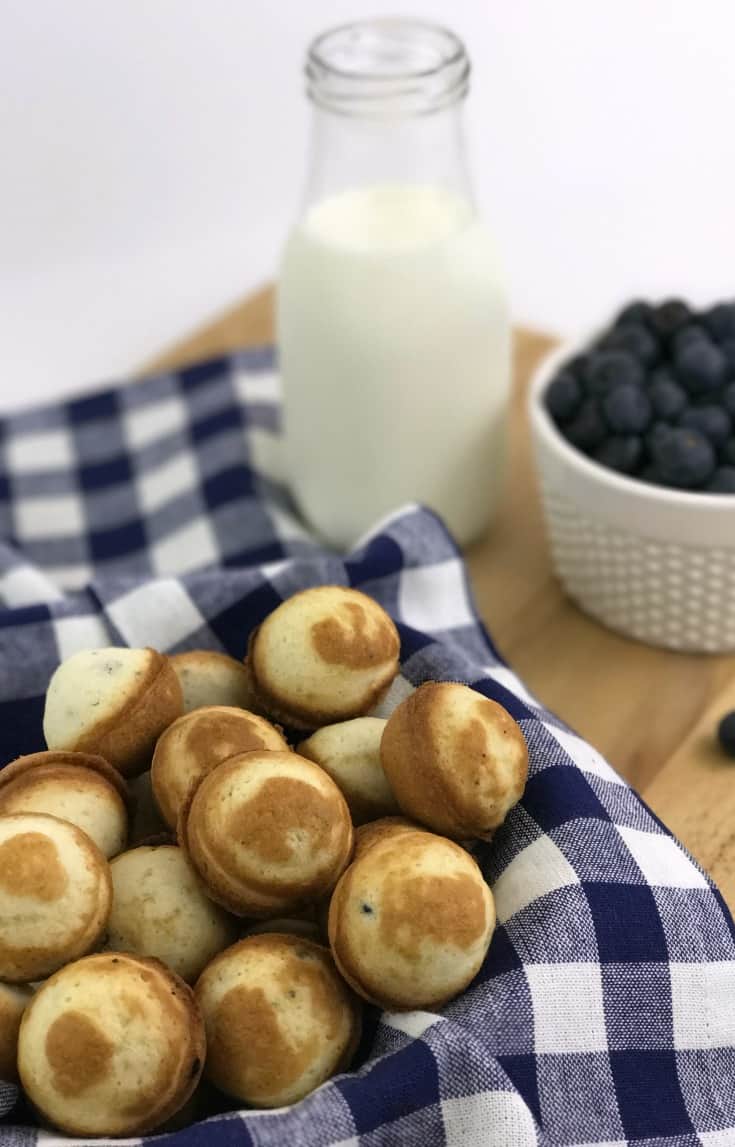
Paired up with another favorite - Ore Idea Tater Tots - with some Ketchup and a glass of milk, and we have a perfect, nutritious snack in under 10 minutes!
These would also be very easy to make in large batches and freeze in the Zip Lock Snack Size freezer bags for the girls to grab on the go. Also easy to pack in lunches - there is no mess!

Mini Corn Dog Cake Pops
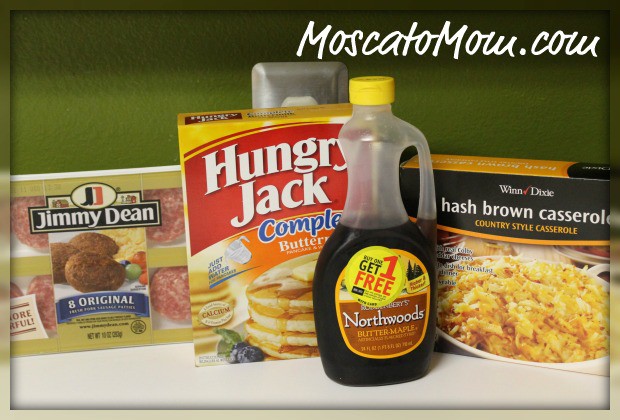
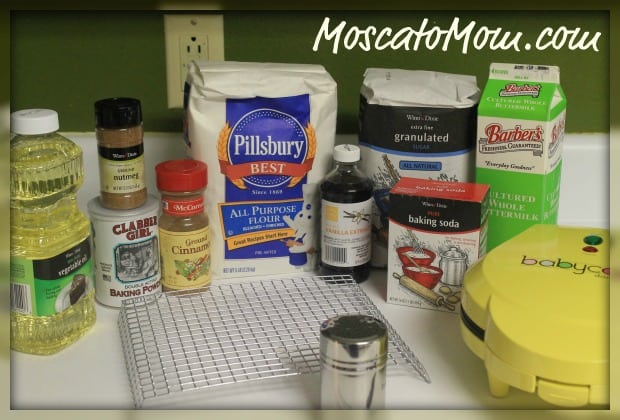
Ingredients:
- 2 hot dogs, cut into small pieces
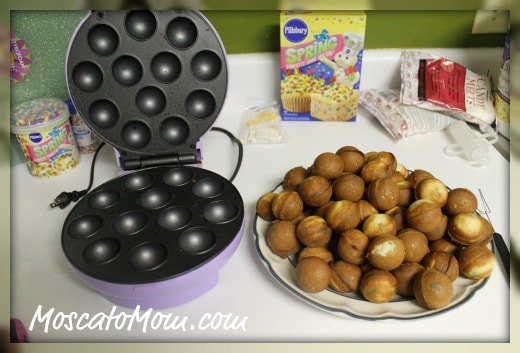
- 1 pkg Jiffy Mix sweet yellow cornbread
- 1 egg
- ⅓ cup milk
Instructions:
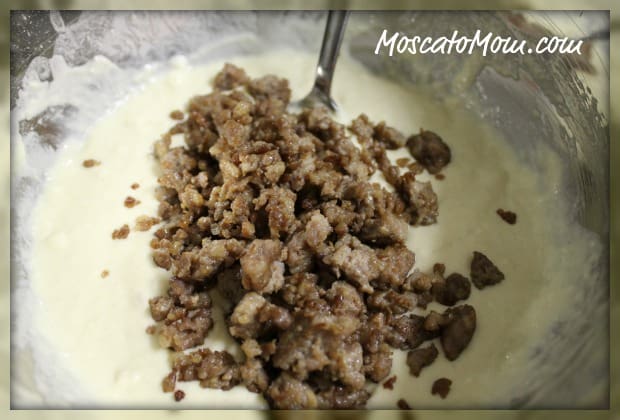
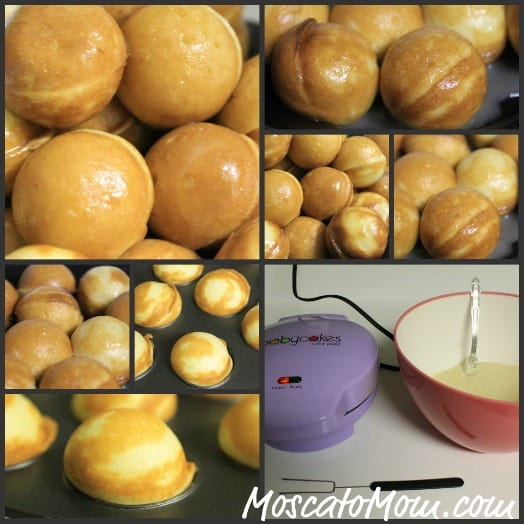
Begin by mixing the Jiffy mix according to package instructions.
Add in cut up hot dogs - making sure the hot dog pieces are the appropriate size for your little one.
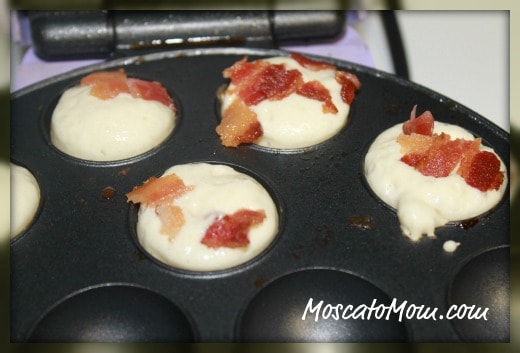
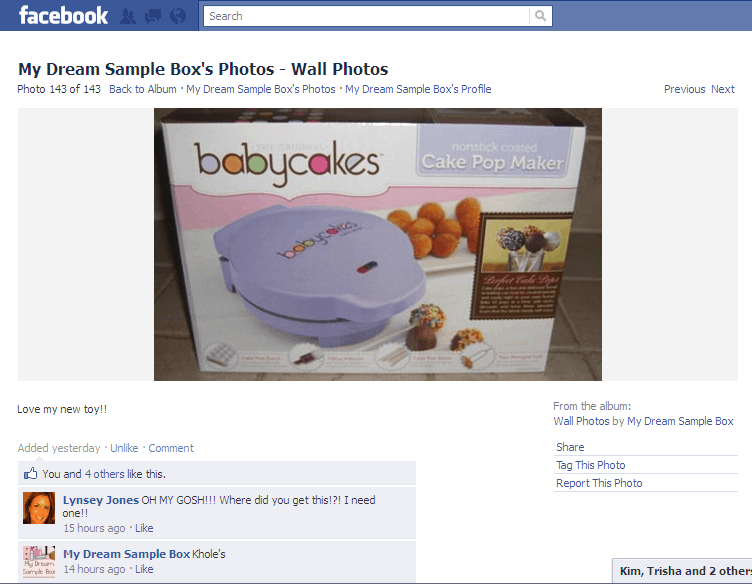
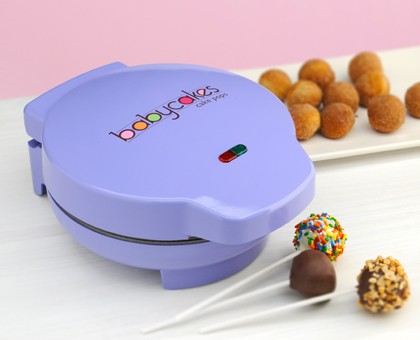
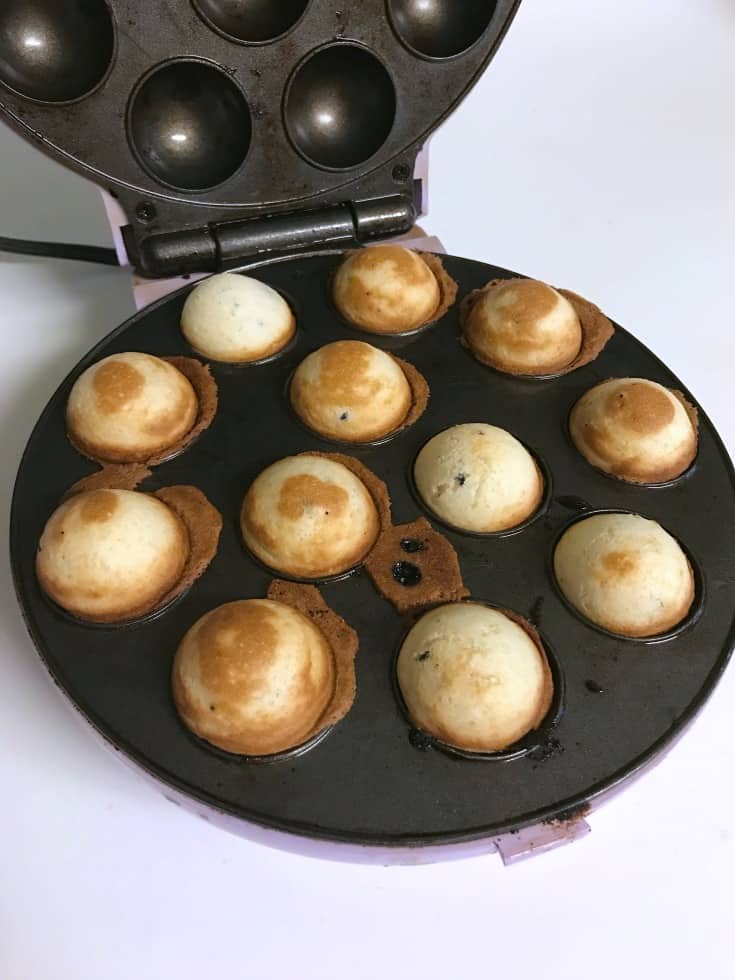
Preheat Babycakes Cake Pop Maker and spray with nonstick cooking spray.
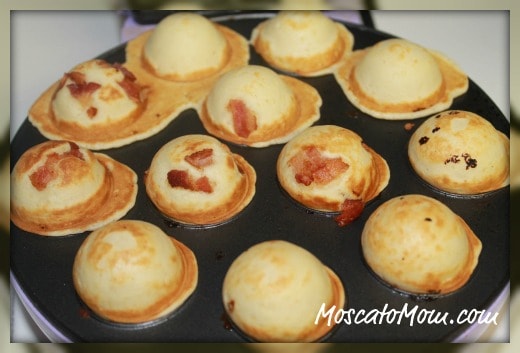
Fill each cake pop reservoir approximately half full with mixture.
Close tightly and cook for 4 minutes.
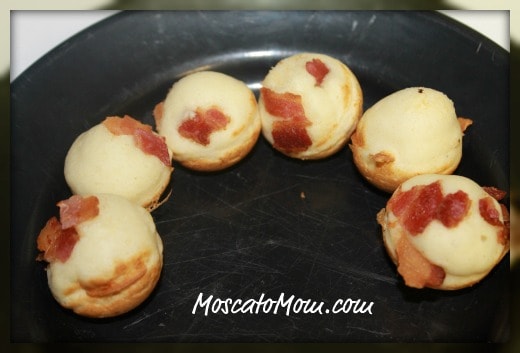
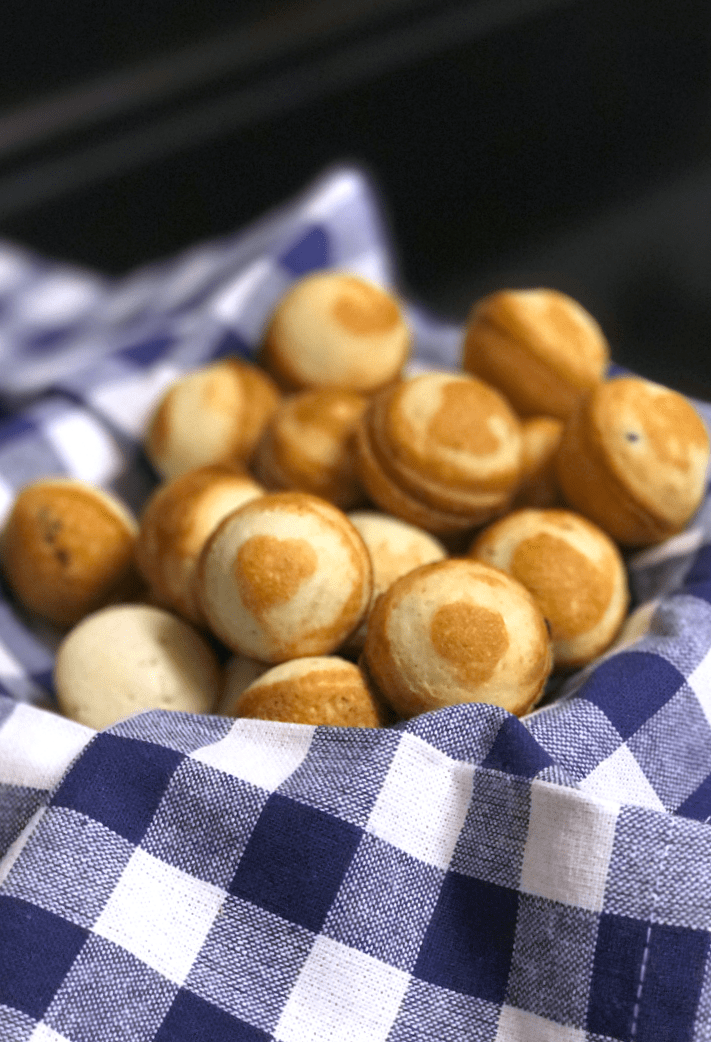
Gently remove each pop with the tool included with your Cake Pop Maker.
Enjoy!
Corn Dog Cake Pops
These Corn Dog Cake Pops take only four ingredients and four minutes to have the perfect kid friendly lunch or snack to go!
Ingredients
- 2 hot dogs, cubed
- 1 package Jiffy Mix cornbread
- 1 egg
- ⅓ cup milk
Instructions
- Begin by mixing the Jiffy mix according to package instructions.
- Add in cut up hot dogs - making sure the hot dog pieces are the appropriate size for your little one.
- Preheat Babycakes Cake Pop Maker and spray with nonstick cooking spray.
- Fill each cake pop reservoir approximately half full with mixture.
- Close tightly and cook for 4 minutes.
- Gently remove each pop with the tool included with your Cake Pop Maker.
- Enjoy!
Nutrition Information:
Yield:
4Serving Size:
1Amount Per Serving: Calories: 149Total Fat: 10gSaturated Fat: 4gTrans Fat: 0gUnsaturated Fat: 5gCholesterol: 69mgSodium: 340mgCarbohydrates: 9gFiber: 0gSugar: 0gProtein: 6g


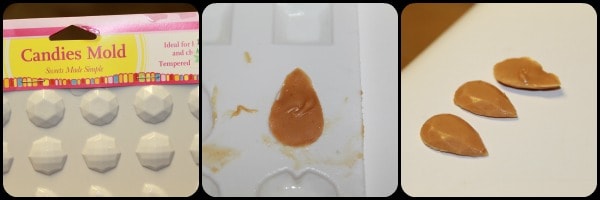


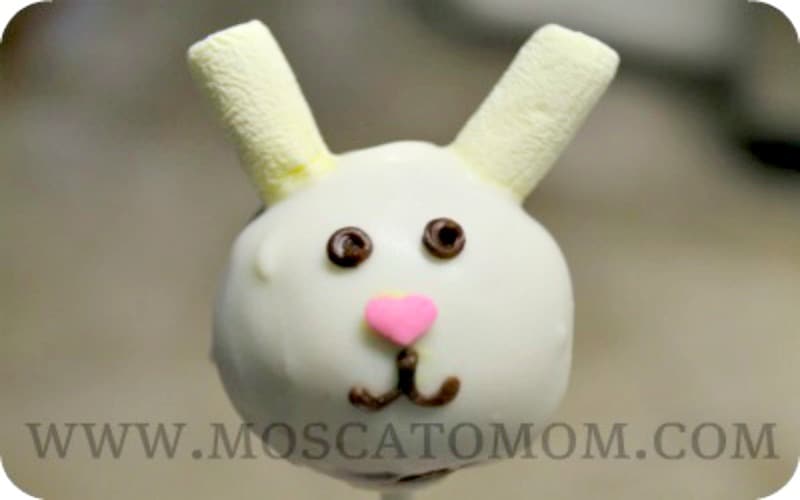
 I have seen pictures of these guys where the baker had used Spring Candy Corn for the ears… I looked at four different stores and was unable to find them. I was about to give up and ditch the entire idea when I saw these near the marshmallows in Walmart. I decided to give them a try, and I was pleasantly surprised with the results. I did use scissors to snip the very ends off – both to make the proper size for “ears” but also to give some added “stickiness” to help them stay on the bunnies heads.
 Ingredients:
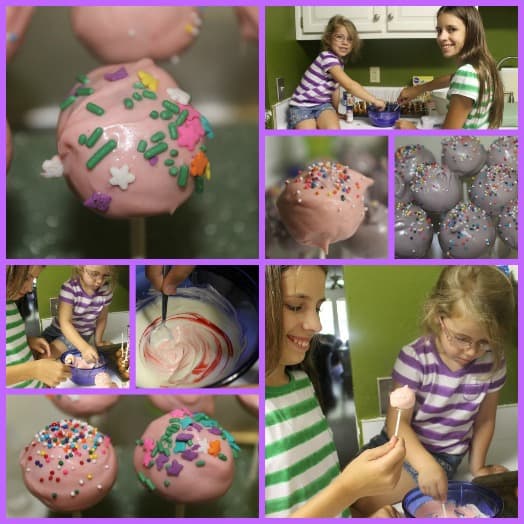
 Like I said this took a bit of practice and a bit of time but was fun nonetheless. Each “sheep” takes about 5 minutes to complete applying the “wool.” Once you are happy with the wool, place back into your cake pop stand and let set for at least 20 minutes.
 Ingredients:


 A few weeks ago the girls and I spent a whole day making and decorating Cake Pops from our
  Ingredients:


 Yesterday while playing on StumbleUpon I ran across this awesome recipe for
  Ingredients:
 Ingredients: