Moscato Mom

  • Home
  • All Recipes
  • Keto Recipes
  • Fitness
  • About
    • Work With Me
    • PR Friendly
  • Privacy
  • Home
  • All Recipes
  • Keto Recipes
  • Fitness
  • About
    • Work With Me
    • PR Friendly
  • Privacy

Best Keto Recipes

Hi! I am so excited you have stopped by to find the Best Keto Recipes here on MoscatoMom!

Whether you are just getting started with keto or you have been at it a while, these easy keto recipes will keep you full and satiated while you reach all of your health goals!

Be sure to subscribe to my newsletter to get delicious low carb recipes, fitness tips, travel destinations, and more directly to your inbox every week!

Whole30 Halloween Stuffed Bell Peppers

By 9 Comments

With Halloween just around the corner, I had an idea of a "treat" everyone would enjoy that would still keep us in line with our health goals. Halloween Stuffed Bell Peppers are perfect! 

A traditional stuffed bell pepper recipe is made with rice - which is full of carbs! I wanted to clean things up so I made a few tweaks and I have to say - these have even more flavor! 

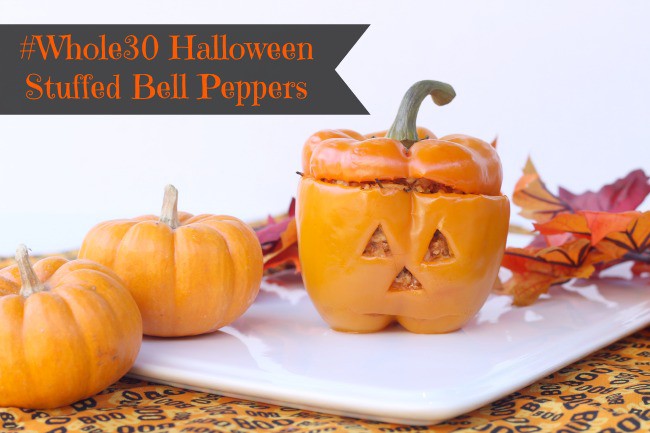
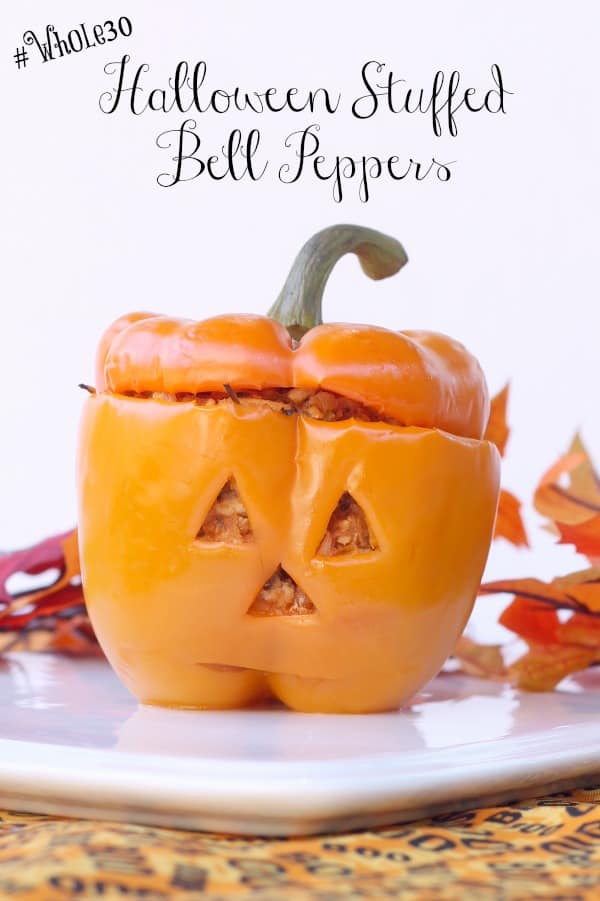
Wanting to make it fun for the kids too, I made a couple little cuts... and the result was adorable. 
How To Reheat Stuffed Bell Peppers

Stuffed bell peppers are a great dish to make ahead of time - because they reheat so easily!

To reheat, simply place in a shallow baking dish with a bit of water at the bottom. 

Loosen stuffing a bit and place in a preheated oven for about 10 minutes! Voila! 

Whole30 Stuffed Bell Peppers

Ingredients

  • 1 pound ground turkey breast
  • 1 large head of cauliflower , cut into pieces
  • 4 large orange bell peppers
  • 1 can whole30 complaint tomato sauce
  • 1 large yellow onion , minced
  • 1 large green bell pepper , minced
  • 2 teaspoons minced garlic
  • ¼ cup chicken broth
  • 2 tablespoons parsley
  • 2 tablespoons basil
  • 1 tablespoon garlic salt
  • 4 tablespoons olive oil

How To Make Stuffed Bell Peppers

  1. The first step is to turn your cauliflower into “rice.” Grate pieces of raw cauliflower in a food processor.
  2. In a skillet, heat olive oil and garlic salt. Add in cauliflower “rice” and cook 5-7 minutes, stirring often to prevent sticking.
  3. Cauliflower will be soft and begin to brown. Turn off the heat and set aside. Turn your oven on to preheat 350*.
  4. In another skillet, brown your turkey completely until all pink is gone. Add in minced onion, minced green bell pepper, minced garlic, parsley, and basil.
  5. Add in chicken broth and let cook down – about 7-10 minutes.
  6. Add in tomato sauce and cauliflower “rice” and let simmer until most of the liquid is gone, stirring often.
  7. While the meat mixture cooks down, cut the tops off of the four orange bell peppers and gently remove the seeds from the inside. With a small paring knife, carefully cut out the eyes, nose, and mouth of the jack-o-lantern.
  8. Fill each bell pepper with the meat mixture and replace the top.
  9. Gently place into the corner of a deep pyrex dish with the jack-o-lantern facing out.
  10. Make sure they are standing upright and gently place on the middle rack of the oven. Bake for 20 minutes or until bell pepper is softening.
  11. Let cool and serve with your favorite sides. Enjoy!

When the family came to the dinner table they all loved their little individual "jack-o-lanterns" and gobbled up every bite.

It wasn't until after they finished that I told them they were 100% Whole30 Compliant. How's that for a "trick!?"
whole30 stuffed bell pepper recipe
Yield: 12

Whole30 Halloween Stuffed Bell Peppers

Whole30 Halloween Stuffed Bell Peppers

These festive Whole30 Stuffed Bell Peppers are low in carbs and big on taste! Suer fun for Halloween!

Prep Time 20 minutes
Cook Time 20 minutes
Total Time 40 minutes

Ingredients

  • 1 pound ground turkey breast
  • 1 medium head of cauliflower
  • 12 bell peppers
  • 1 can tomato sauce
  • 1 large yellow onion
  • 1 large green bell pepper
  • 2 teaspoons minced garlic
  • ¼ cup chicken broth
  • 2 tablespoons parsley
  • 2 tablespoons basil
  • 1 tablespoon garlic salt
  • 4 tablespoons olive oil

Instructions

  1. The first step is to turn your cauliflower into “rice.” Grate pieces of raw cauliflower in a food processor.
  2. In a skillet, heat olive oil and garlic salt. Add in cauliflower “rice” and cook 5-7 minutes, stirring often to prevent sticking.
  3. Cauliflower will be soft and begin to brown. Turn off the heat and set aside. Turn your oven on to preheat 350*.
  4. In another skillet, brown your turkey completely until all pink is gone. Add in minced onion, minced green bell pepper, minced garlic, parsley, and basil.
  5. Add in chicken broth and let cook down – about 7-10 minutes.
  6. Add in tomato sauce and cauliflower “rice” and let simmer until most of the liquid is gone, stirring often.
  7. While the meat mixture cooks down, cut the tops off of the four orange bell peppers and gently remove the seeds from the inside. With a small paring knife, carefully cut out the eyes, nose, and mouth of the jack-o-lantern.
  8. Fill each bell pepper with the meat mixture and replace the top.
  9. Gently place into the corner of a deep pyrex dish with the jack-o-lantern facing out.
  10. Make sure they are standing upright and gently place on the middle rack of the oven. Bake for 20 minutes or until bell pepper is softening.
  11. Let cool and serve with your favorite sides. Enjoy!

Nutrition Information:

Yield:

12

Serving Size:

1

Amount Per Serving: Calories: 159Total Fat: 6gSaturated Fat: 1gTrans Fat: 0gUnsaturated Fat: 5gCholesterol: 27mgSodium: 643mgCarbohydrates: 11gNet Carbohydrates: 8gFiber: 3gSugar: 6gProtein: 15g

Nutrition calculations based on exact ingredients used and may vary between brands. For exact macro measurements, always calculate your own macros using the exact ingredients that you use.
Did you make this recipe?

I would love to see! Tag me on Instagram @lynsey.kmetz or use the buttons below to share it on Pinterest! Thanks for your support!

© Moscato Mom
Cuisine: American / Category: Main Dishes

How To Cook The Perfect Omelette

By 1 Comment

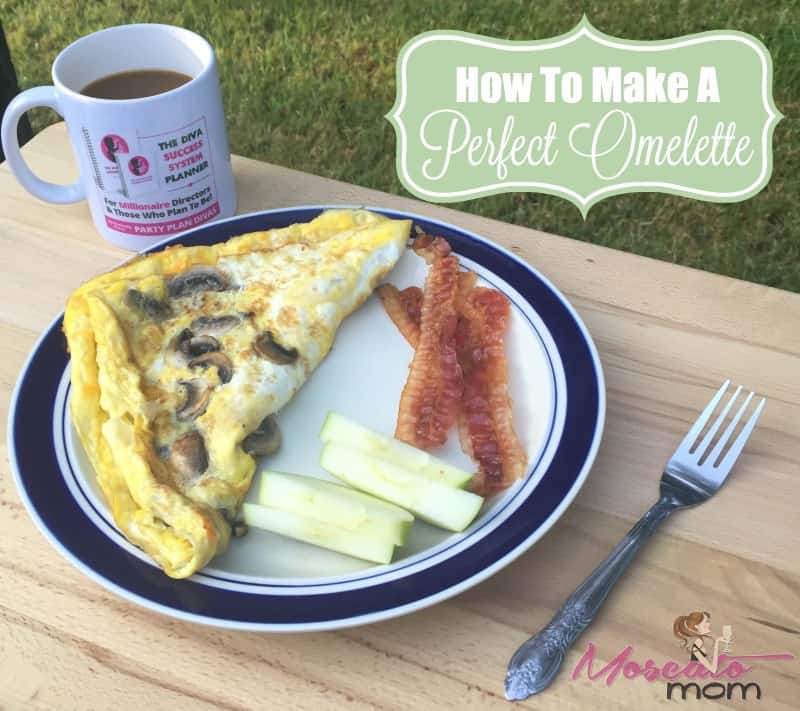
Since I was a little girl I have always loved an omelet for breakfast in the morning. Every Saturday my Mom would make me a mushroom and cheese "omelet" for breakfast, and I have continued that tradition with my girls. The problem, though... is that I am using the term "omelet" really loosely. What we actually do is just scramble our veggies in with our eggs and call it an omelet... because well... I have never been able to actually form it into something that looks like a true omelet. That is until I received a Copper Chef Pan for review! Let's just say - I am an omelet making machine!

how to make a perfect omelette

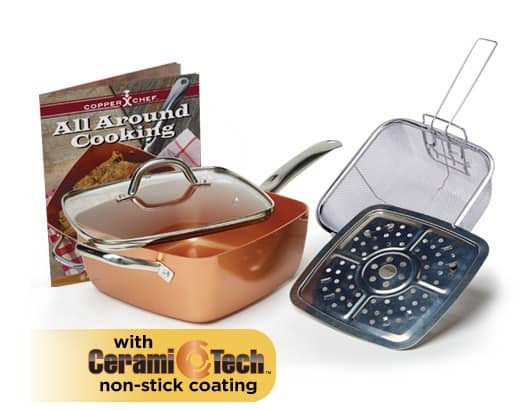
The Copper Chef has become my go-to pan in my kitchen for every meal from breakfast to dinner. So much so that I have considered getting rid of every other pan I own. I can cook absolutely anything in it - from fried chicken to pot pies - to the perfect omelette! The Copper Chef can be used on any cooktop - and can even be put in the oven! The Copper Chef has CeramiTech non-stick coating so absolutely nothing sticks. I have had pans claim that before... only to have my eggs stick like crazy. The Copper Chef passed the ultimate test - and has made me perfect eggs every single time!

copper chef

To me there is nothing better than an omelette stuffed with veggies like mushrooms, onions, bell peppers, and spinach to really get your day started off on the right foot. With my health journey to be the best version of me, breakfast has become even more important. This morning in minutes I whipped up a delicious mushroom and cheddar cheese omelette for breakfast. Check it out:

You can get your own Copper Chef Cookware from www.CopperChef.com - and be sure to like them on Facebook for tons of great recipe ideas! Stay tuned to MoscatoMom.com for more recipes too!

Saint Patrick's Day Party Deviled Eggs

By 4 Comments

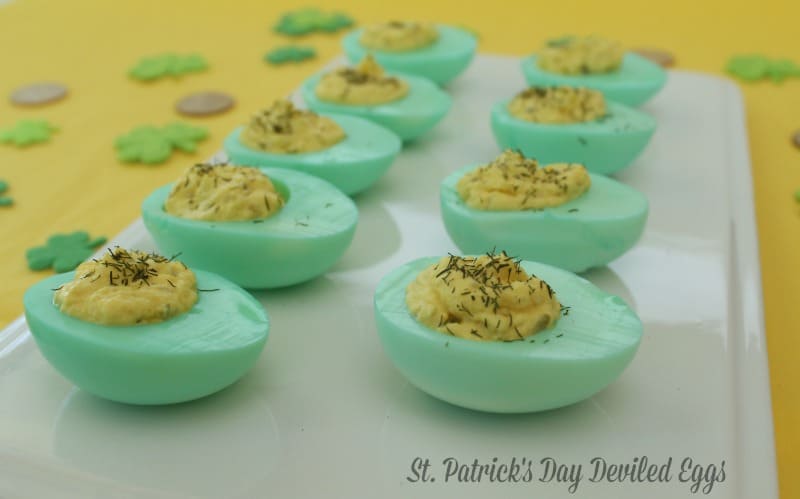
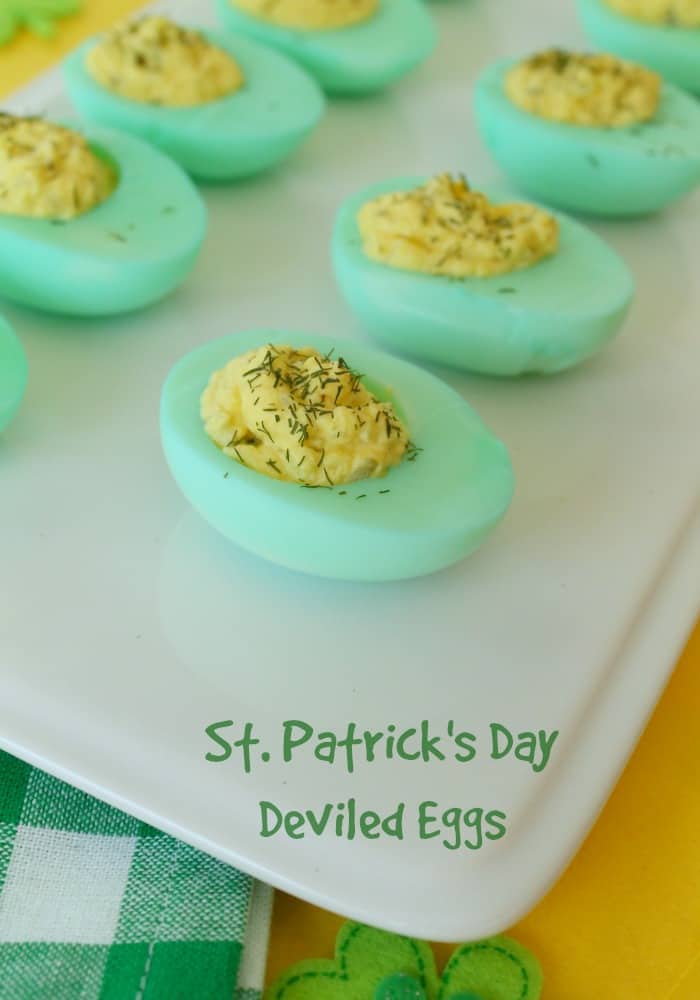
Saint Patrick's Day is just a few days away and whether you are throwing a party or just want to do something fun at home, these St. Patrick's Day Deviled Eggs are a fun treat! The girls and I had a ball this morning making - and then quickly eating - all of them.

st patricks day eggs

These eggs are so super simple! Hard boil six large eggs. Tip: putting baking soda in the water when you boil will help the shells peel off easily. Once boiled put in ice water for three minutes and then peel under running water. Carefully cut each egg lengthwise can pop out the egg yolk into a separate bowl. Gently rinse the egg white to make sure there is no yolk left. The yolk will absorb too much color and look weird. You want your egg whites nice and clean. Set aside to let dry.

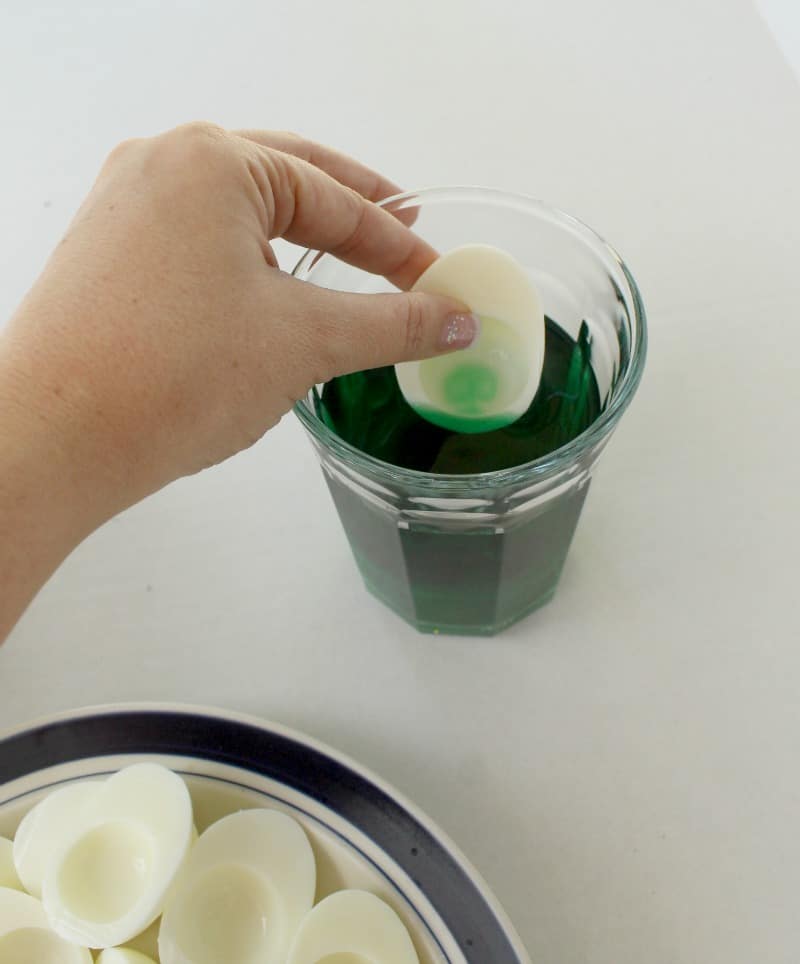
Fill a glass bowl or jar with water and add 10-12 drops of green food coloring. Mix with a spoon and then slowly drop your dry egg whites in to the glass one at a time. Be careful not to plop them in there - it does splash!

stpatricks day eggs

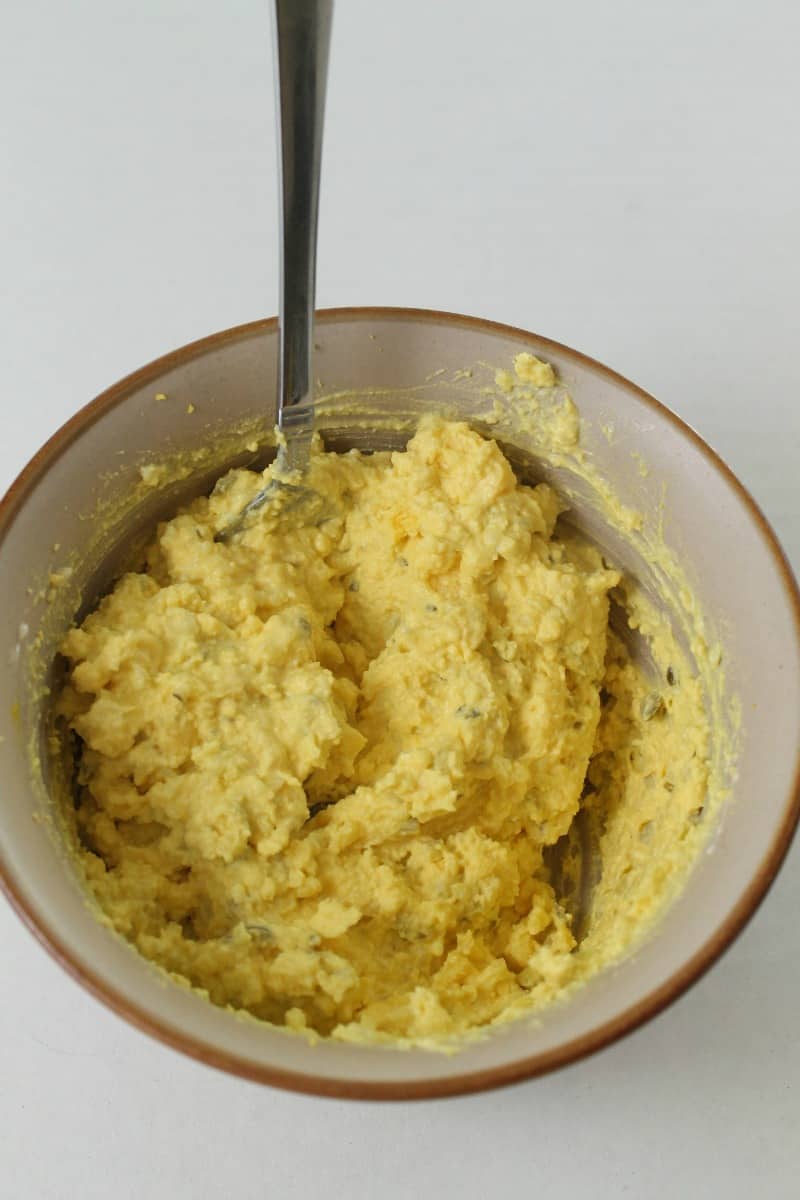
Let the egg whites sit in the food coloring about 8-10 minutes or until they reach the desired green-ness you like. While they are soaking, use a fork to mash up your egg yolks for the filling. You can add whatever you would like to the filling - I add pickle relish, whole30 mayo, and mustard. Beat together until smooth.

perfect deviled eggs

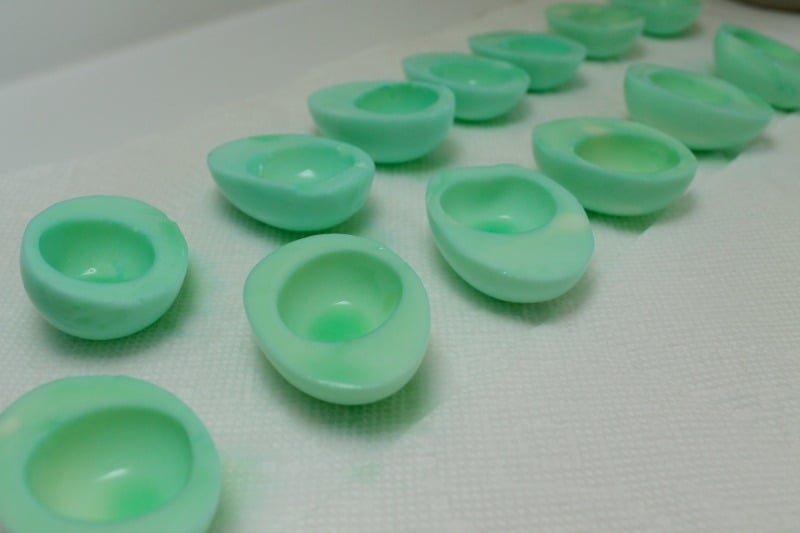
Line your countertop with foil or wax paper and then a layer of paper towels. Using a spoon, carefully remove your egg whites from the green water and set right side up to dry. Make sure they are not touching each other - this will distort the color. Allow them to completely dry before moving on to the next step.

green eggs

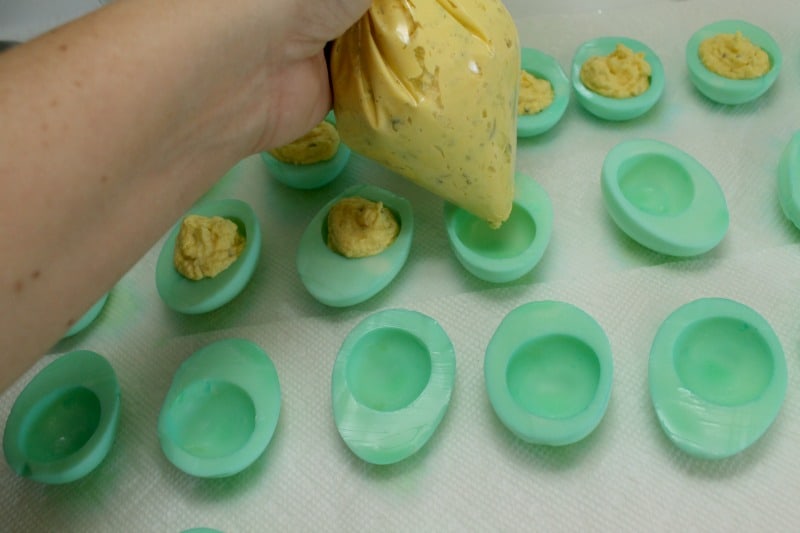
To make filling your green eggs quick, simple, and mess free, put your egg yolk filling in to a piping bag or large ziplock and snip off the end with a pair of scissors. Twist the bag and squeeze out the desired amount into each egg white. You can be pretty generous here - the added volume of the pickles and seasonings will give you a little more filling to work with. Plus - you cant have too much. Yum.

how to fill deviled eggs

Garnish with a sprinkle of dill and serve!

st patricks day deviled eggs

A Keto Christmas - Chicken Alfredo Recipe

By Leave a Comment

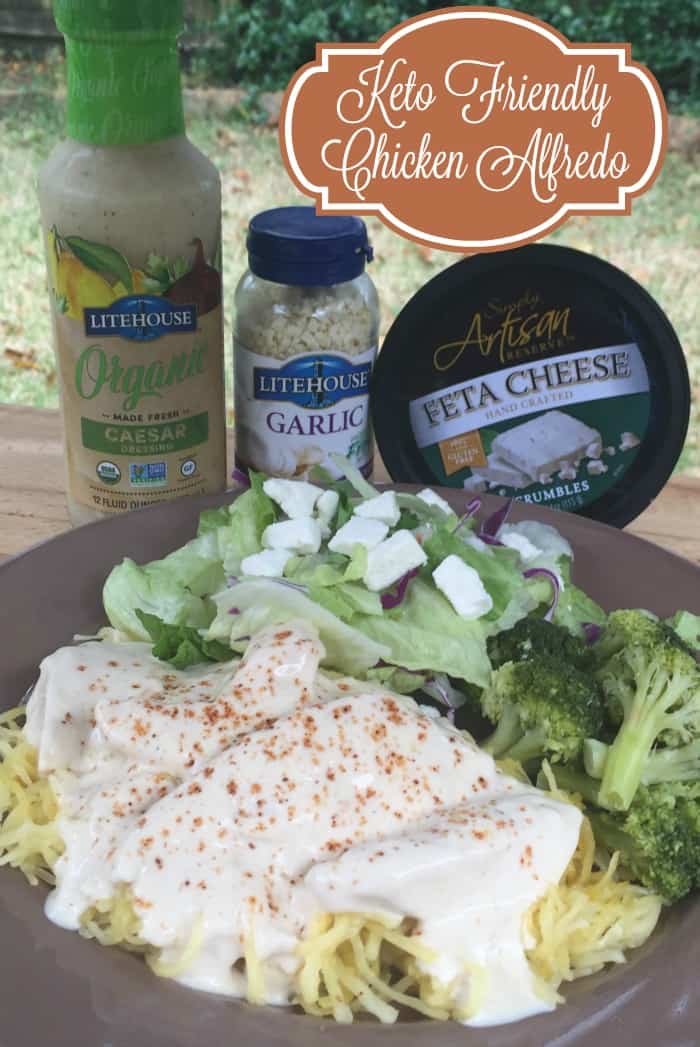
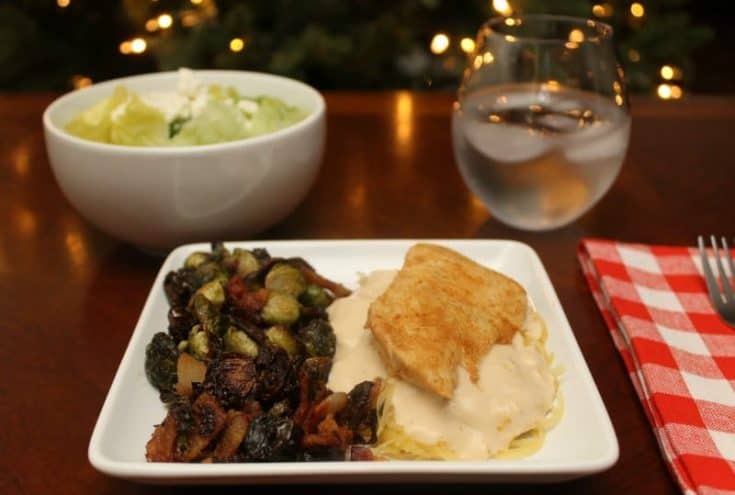
I am really excited to be hosting our Christmas Eve Family Dinner this year. I have hosted Thanksgiving for the last few years, but the Christmas Eve meal is a big deal. Since I have begun eating Keto I want to show my family just how delicious eating low carb can be. So I decided to make one of my all time favorites for dinner - Spaghetti Squash Chicken Alfredo - using my favorite ingredients.

keto chicken alfredo

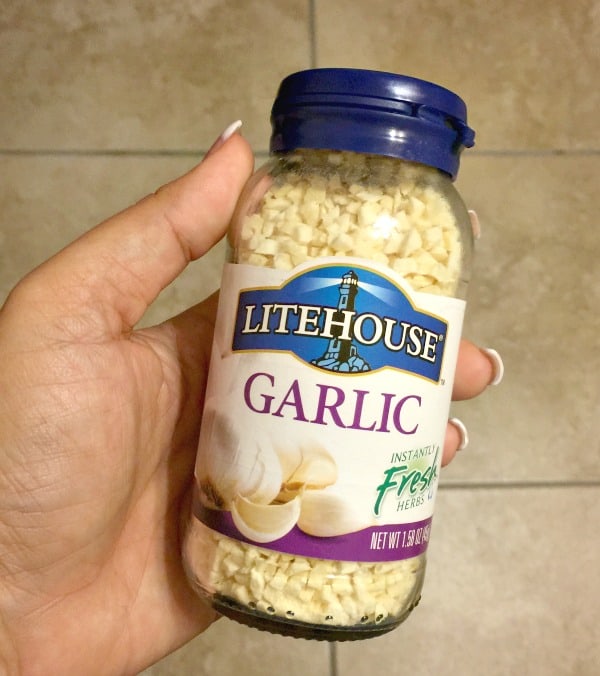
Litehouse Foods offers a wide variety of Salad Dressing flavors along with Caramel, Fruit dips, Glaze, Herbs, Veggie dips, and Cheese crumbles. My favorite product of theirs though is their Instantly Fresh Herbs which you simply add water to rehydrate. The Litehouse Garlic has become a staple in this house that I have used for everything from omelets to spaghetti sauce. It is perfect for my homemade alfredo - which we eat no less than once a week it seems. This Christmas Eve I am excited to use Litehouse to "Holidazzle" my loved ones with my favorite dish!

litehouse garlic

I love this recipe because it is super quick, but also savory and filling - perfect for these cold winter nights. And since I use spaghetti squash instead of pasta, no one gets the "carb coma" after eating. Plus I always make a double batch so I can have leftovers for lunch! Truth be told I end up pouring the Alfredo on all the things... but that's ok. It's keto! Pair it with a fresh salad using Litehouse Cheese Crumbles and Litehouse Organic Caesar dressing and voila! Dinner is served! I think this will look perfect for our holiday meal - don't you?

Yield: 4

Keto Chicken Alfredo

Keto Chicken Alfredo

Chicken Alfredo is a keto staple! This deliciously simple recipe is made with one of my favorite secret ingredients.

Prep Time 10 minutes
Cook Time 20 minutes
Total Time 30 minutes

Ingredients

  • 4 boneless skinless chicken breasts
  • 4 tablespoon butter
  • 1 tablespoon Litehouse Garlic
  • 1 cup heavy cream
  • 5 tablespoon grated parmesan
  • a pinch of ground nutmeg
  • salt and pepper to taste

Instructions

  1. Begin by melting butter in a hot skillet.
  2. Add in your chicken breasts and cook through – turning often. The butter will caramelize to the pan – that is ok – you want all that goodness in your sauce.
  3. When the chicken is finished, move to a plate and set aside.
  4. Turn the heat down to low and add in heavy cream and garlic to your skillet. Use a spatula to scrape the yumminess that is stuck to the bottom of your skillet.
  5. Add in remaining ingredients and let simmer on low for about 5 minutes – stirring often to prevent scorching.
  6. Add chicken back to sauce or chose to serve it on top – totally up to you!
  7. Serve with your favorite veggie and a tossed salad.

Nutrition Information:

Yield:

4

Serving Size:

1

Amount Per Serving: Calories: 532Total Fat: 39gSaturated Fat: 23gTrans Fat: 1gUnsaturated Fat: 13gCholesterol: 205mgSodium: 383mgCarbohydrates: 3gFiber: 0gSugar: 2gProtein: 41g

Did you make this recipe?

I would love to see! Tag me on Instagram @lynsey.kmetz or use the buttons below to share it on Pinterest! Thanks for your support!

© Moscato Mom
Cuisine: American / Category: Main Dishes
holidazzle_woobox_enterypage_720

Litehouse Foods is holding a contest to show off how you "Holidazzle" your meals this season! All you have to do is snap a photo of your delicious meals using Litehouse or Simply Artisan Reserve products, and share on Twitter or Instagram using the hashtag #LitehouseHolidazzle for your chance to win! Three lucky winners will receive $1,000 to use for groceries and a year's supply of Litehouse Dressing! You can also save on your HoliDazzle recipe with this great LiteHouse Foods Coupon!

Super Simple Cauliflower Rice Recipe

By Leave a Comment

Since I completed my first Whole30 over one year ago, I have tried to stay compliant about 80% of the time. It's so true that I feel better when I eat better - and while I do indulge in some sweets sometimes, I have kept to most of the whole30 rules.

whole30 cauliflower rice

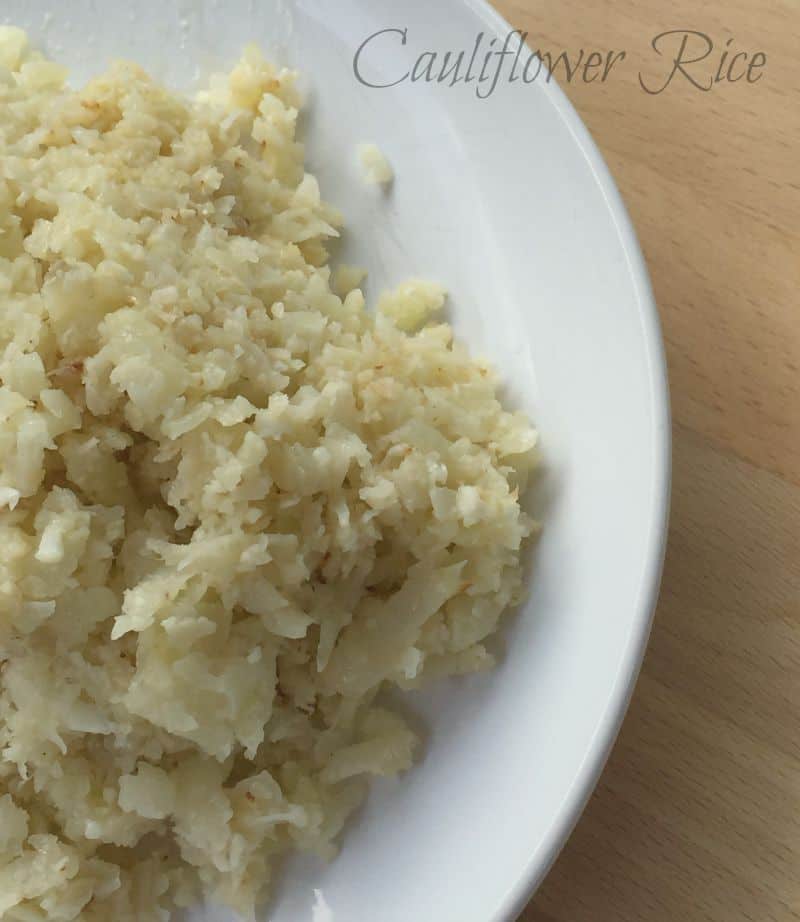
One of my favorite dishes that I discovered while doing whole30 was Cauliflower Rice - something that has become just a staple around here as all four of us absolutely love it with just about everything.

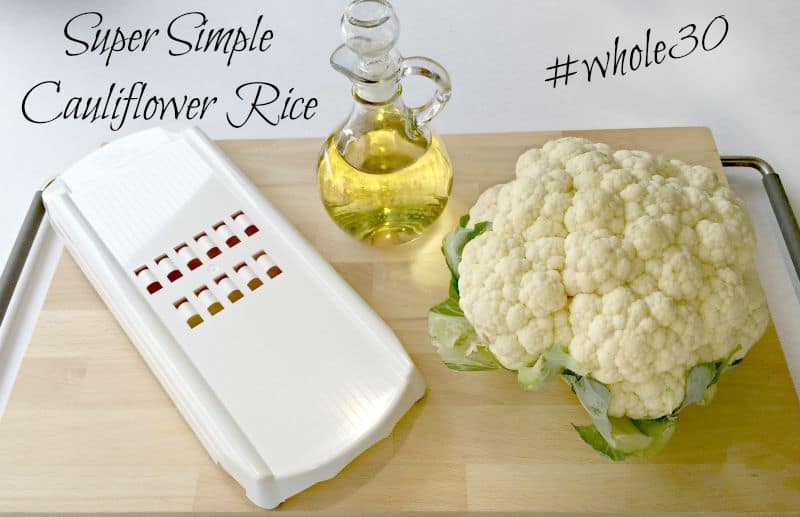
The only thing I didn't like was the mess that it made in my kitchen, so I was delighted when my friend and Independent Pampered Chef Consultant Naomi Donaldson told me about their brand new Veggie Strip Maker! I have only had it a couple weeks - and it is already becoming one of the most used tools in my kitchen!

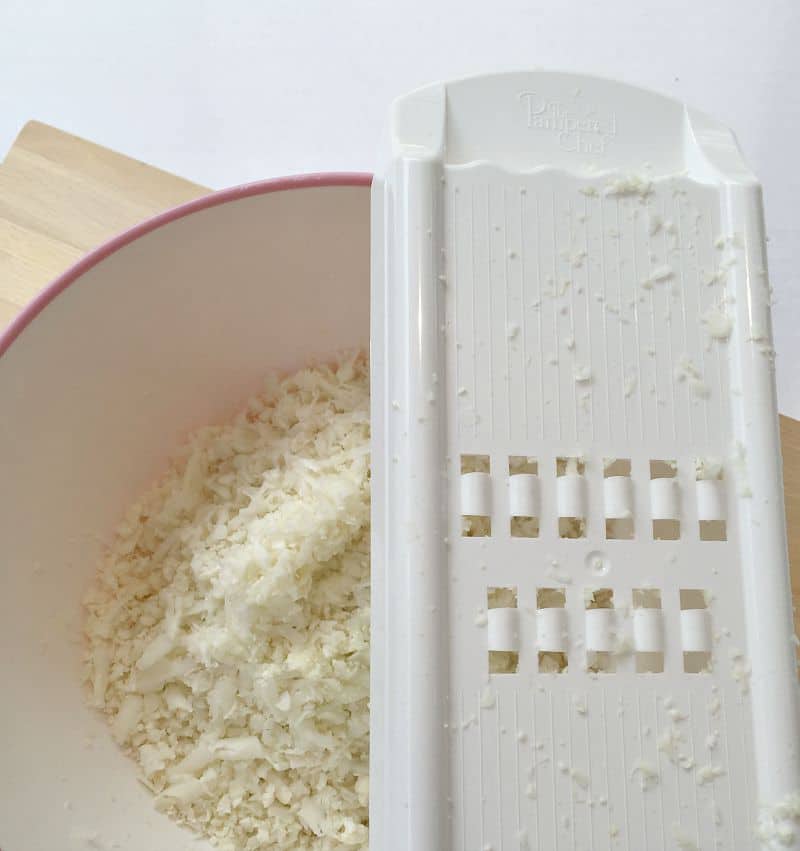
The Pampered Chef Veggie Strip Maker is made of a durable plastic and has no blades. It is light weight and has little non-slip "feet" to hold it in place making it a perfect addition to any kitchen.

You can make easy vegetable "noodles" from things like zucchini and carrots - but I love it for making my cauliflower rice in a flash - without the crazy mess that my big ole food processor made!

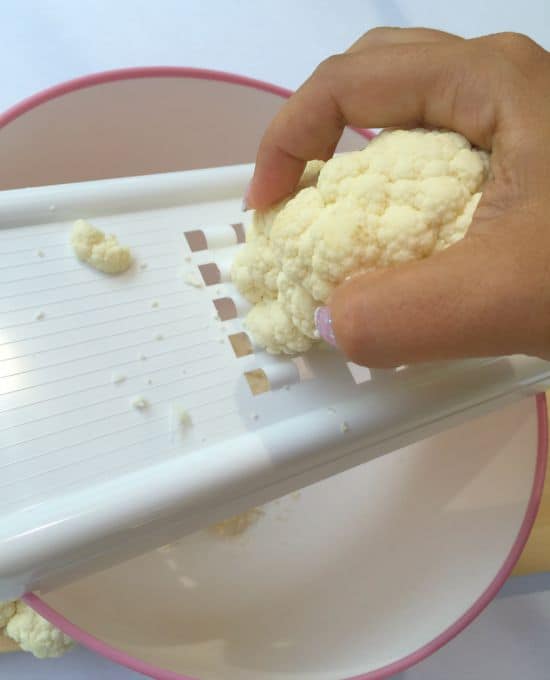
You simply slip it on top of your favorite bowl (it even has a little notch on the side to hold it secure) and go back and forth like a cheese grater! In a matter of just a few minutes I had the entire head of cauliflower grated and ready to cook.

You can even toss the Veggie Strip Maker in the dishwasher for even easier clean up!

pampered chef veggie strip maker

My recipe is so simple I am not even sure you can call it a real "recipe" - but that is why I love it. Super easy, super quick, and super delicious. And compliant.

There are only three ingredients - none of which I actually measure. All you need is your head of fresh cauliflower, extra virgin olive oil or coconut oil, and garlic salt. Voila!

In just a few minutes you have the perfect side dish for any meal - it goes great with everything!

veggie strip maker pampered chef

To cook your cauliflower "rice" heat enough oil to cover the bottom of a large deep skillet over medium-high heat.

Add in your grated cauliflower and about a teaspoon of garlic salt and let cook - flipping often to prevent sticking. If it starts to stick you can add in a little more oil - the cauliflower will absorb it as it cooks down and gets soft.

Once the cauliflower is done it will begin to brown and caramelize to absolute perfection.

cauliflower rice

Cauliflower "rice" is a great substitute for any rice dish and is lower in calories and carbs and higher in dietary fiber. Cauliflower is also higher in Vitamin C and calcium - plus I think it has way more flavor that boring old rice.

You can change up the flavor by adding in cilantro and lime juice or add in a seasoning like Tony Sacheries for a Cajun flare. You can even use this cauliflower to make your own compliant whole30 sushi!

Before whole30 I never ate cauliflower - but now we eat it several times a week because it is so versatile. And with adding the new Veggie Strip Maker from Pampered Chef to my kitchen - it is even easier to prepare! Gotta love that!

Check out Naomi's website to purchase the Veggie Strip Maker with their signature Season's Best cook book - available now only for a limited time!

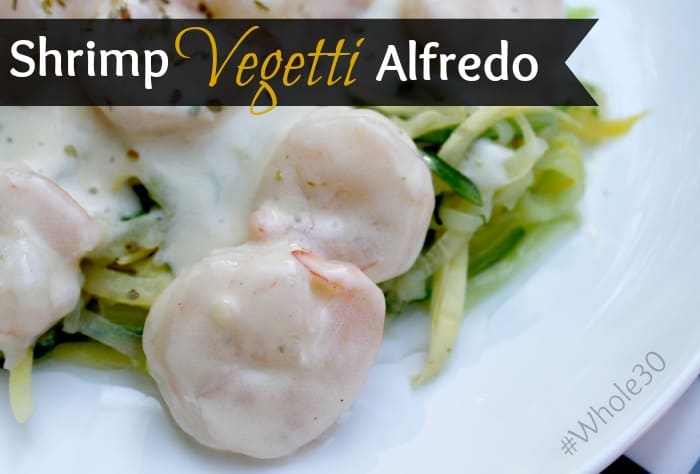
Shrimp Vegetti Alfredo Whole30

By 14 Comments

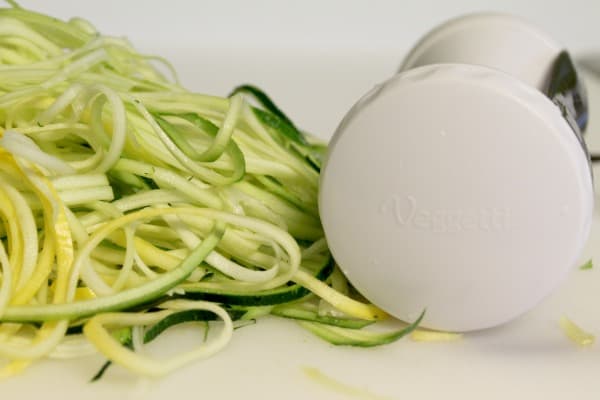
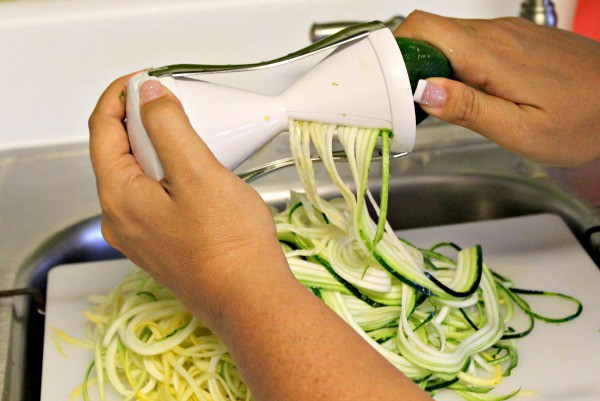
A few weeks ago a friend of mine posted on Facebook that she "may never eat pasta again" after discovering the Vegetti. The Vegetti is a hand held vegetable spiralizer that lets you turn vegetables like squash, zucchini, and carrots into thin cut spiral "noodles." Oh, and it is less than 20 bucks!! I was a bit skeptical, but thought I would give it a shot. It has become one of my all time favorite kitchen gadgets.

vegetti spiralizer

Since starting Whole30 I have missed pasta so bad. Like really bad. Like had to talk myself out of cheating at least 3 times a week bad. So I was stoked to try the vegetti and see if I could have "pasta" again. I opted to go for alfredo (go big or go home, right?) using a Paleo Alfredo recipe made from cauliflower. In a word.... ahmayzing.

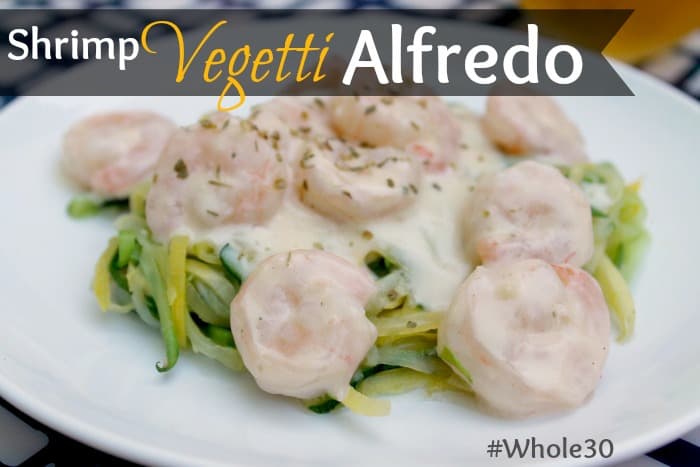
Shrimp Vegetti Alfredo Whole30

Shrimp Vegetti Alfredo Whole30

Shrimp Vegetti Alfredo is a super quick meal with tons of flavor.

Prep Time 10 minutes
Cook Time 10 minutes
Total Time 20 minutes

Ingredients

  • 2 medium zucchini
  • 2 medium yellow squash
  • ½ pound shrimp, peeled and deveined
  • 3 tablespoon olive oil
  • 4 cups cauliflower, chopped (1 head)
  • ½ cup chicken broth
  • 1 cup of coconut milk
  • ½ teaspoon salt
  • 2 teaspoon garlic powder
  • 1 teaspoon Season All Salt

Instructions

  1. First, you want to make your alfredo sauce. First, microwave your cauliflower in a microwave safe bowl with a bit of water until soft.
  2. Put cauliflower, chicken broth, coconut milk, salt, and garlic powder into your food processor and puree until thin.
  3. This will take a few minutes. In fact, I may have let it go too long because it was very very thin…
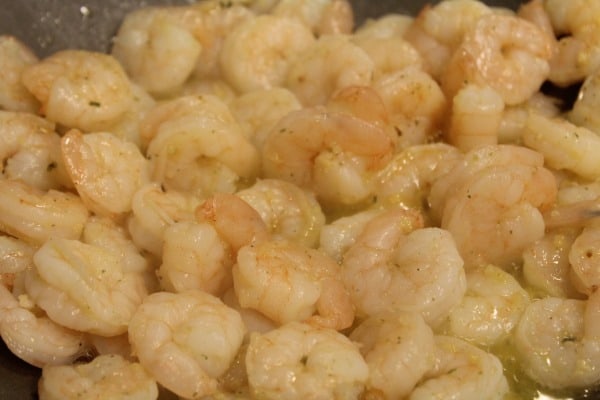
  4. Next, sauté your shrimp in olive oil and season all salt until done, and add to alfredo sauce.
  5. Transfer sauce and shrimp into a pan and warm on the stove to let the flavors mix together well.
  6. Finish by spiralizing your zucchini and yellow squash using your Vegetti. This takes just a few minutes and actually was fun. As I said, I was skeptical before, so I was pleasantly surprised when this worked as well as it did.
  7. Bring a pot of water to a boil and add your spiralized “noodles” for 2-3 minutes, until they are the softness that you want them. Be careful – overcooking makes them mushy. (I have since learned that you can also sauté the “noodles” in garlic and olive oil for even more flavor!)

Nutrition Information:

Yield:

4

Serving Size:

1

Amount Per Serving: Calories: 355Total Fat: 25gSaturated Fat: 13gTrans Fat: 0gUnsaturated Fat: 10gCholesterol: 120mgSodium: 1500mgCarbohydrates: 19gFiber: 7gSugar: 9gProtein: 20g

Did you make this recipe?

I would love to see! Tag me on Instagram @lynsey.kmetz or use the buttons below to share it on Pinterest! Thanks for your support!

© Moscato Mom
Cuisine: American / Category: Main Dishes
shrimp
vegetti reviews

Drain your "noodles" well in a colander and serve like you would your favorite pasta alfredo dish!

whole30 alfredo recipe

Enjoy!

~Lynsey

How To Make Whole30 Mayo Recipe + Video

By 27 Comments

When I began Whole30 back in July, my friend Jen said "you make whole30 mayo - its divine."

Mayo?

Divine?

For serious?

This lady is nuts.

But whatever, I went to Target and picked up a new food processor and headed home... only to create the biggest mess of my life. I followed the instructions (I thought) but what I created was a bitter salad dressing type concoction only a little thicker than milk. I put it in the fridge and it solidified some, but there was no way anyone was eating it. We tossed it out and I just vowed to not eat mayo....

Yeah, right.

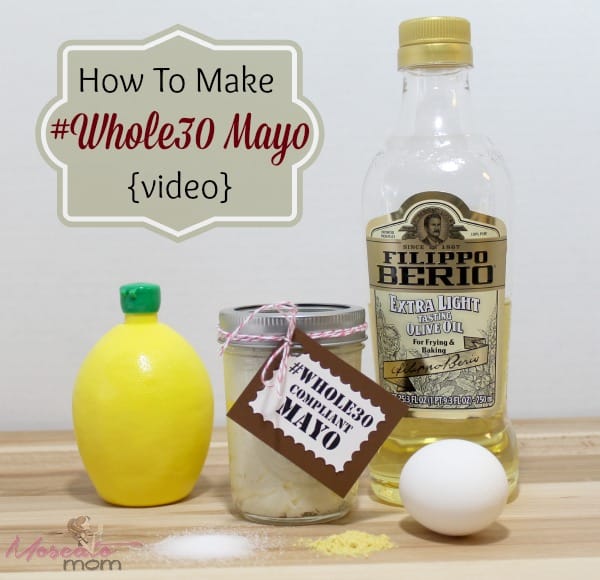
Two days later I pulled the food processor down again - determined to succeed. And I finally did. Since then I have been making Whole30 mayo like crazy - taking 16 jars to a local ladies networking meetup where everyone just loved it. (*waving to all of my SBL sisters*) I was asked for the "secret" and since I too had a couple "mayo fails" myself I decided to video the whole process so you can see it. YES it is a long video... making mayo is time consuming. But you will seen even in the video there is just this *moment* where it changes from a liquid to a solid... into pure mayo heaven.

I have to take back calling Jen nuts - because this stuff truly is divine. Between regular Whole30 Mayo and the Whole30 Baconnaise, I survived my first round and am three days in to my second round. I absolutely LOVE Whole30. Total game changer for me. Anyway, here it is - step by step - how to make Whole30 Mayo! Enjoy!

whole30 mayo tutorial

Whole30 Mayo

Ingredients:

  • one raw egg - room temperature
  • 1 teaspoon lemon juice - room temperatire
  • 1 teaspoon ground mustard
  • 1 teaspoon salt
  • 1 ½ cups light tasting oil


Directions:

Start by putting the raw egg, mustard, salt and lemon juice in the food processor. Spin the blades just a time or two to mix the ingredients together and break the yolk. Set aside for 30 minutes. This part is really important - it will not work if you do this too soon. The acidity of the lemon juice has to have time to work with the egg. After 30 minutes, turn the blades on high and slowly drizzle the oil in. This part will take 5-10 minutes just keep drizzling. You will be more than half way through the oil before it emulsifies - keep going. Soon you will have thick, creamy deliciousness.

This mayo truly is divine - and we have used it in everything from chicken salad to tuna salad to egg salad - all without any guilt at all.

Enjoy!

lynseysig

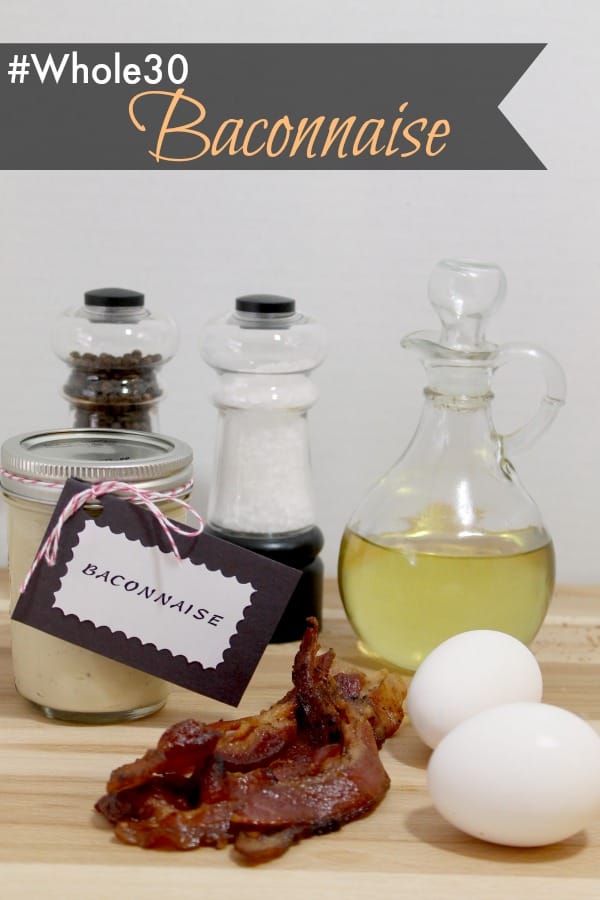
#Whole30 Approved Baconnaise

By 17 Comments

Since I began Whole30 - which has now become WholeLife - I have ventured in to learning how to cook new things. This is saying a lot for a gal who pretty much hates to cook. But it turns out that I am actually pretty good at it, and I have created some pretty amazing meals... so much so that Mike has agreed to do Whole30 in September - stating that the stuff I cooked that was Whole30 approved was "actually pretty good." Talk about a huge win.

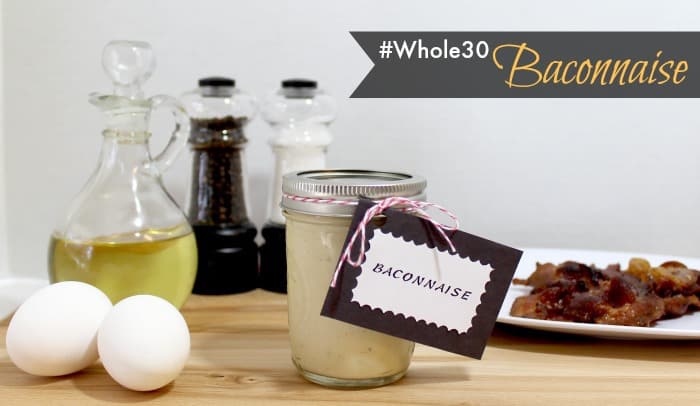
One of the things I made that everyone has loved is Whole30 Compliant Mayo. Because I have pretty much survived on chicken salad, tuna salad and egg salad, making my own mayo was a must from early on. Since then I have been venturing in to flavored mayo to give things a bit of variety. By far my favorite concoction so far - is Baconnaise.

whole30 baconnaise

First thing you need for Baconnaise is Whole 30 Approved Bacon. Thankfully there are two different brands that make it - Applegate (which you may be able to find at your local store or can order from Amazon here) and U.S. Wellness Meats (which can be ordered online.)

Whole30 Baconnaise

Ingredients:

  • one egg
  • 1 teaspoon lemon juice
  • 1 teaspoon ground mustard
  • ½ pound Whole30 approved bacon
  • ½ cup light tasting oil

Begin by frying your bacon until crispy, rendering all of the grease and drippings into a measuring cup. You will need one cup of bacon grease - so I cooked a little over ½ of a pound of bacon.

You want to scrape all of the little crispies off the pan too - these will help the flavor be amazing. While bacon grease is cooling, put your egg, lemon juice, and ground mustard into your food processor.

Spin the blades just a few times - enough to break apart the yolk and kind of mix the ingredients. Then, let egg mixture sit for no less than 30 minutes. This part is really important. Something happens with the acid of the lemon juice and the egg that makes the magic of mayo happen.

If you try to mix too soon, the oil will not emulsify and you will have something the consistency of salad dressing.

After the bacon grease has cooled (but not solidified) and the egg mixture has sat for at least 30 minutes, turn your food processor on high speed and slowly drizzle the light tasting oil and bacon grease into the food processor.

You want to drizzle very very slowly - like the tiniest pour you can. This process takes about 5 minutes of consistent pouring while the blades spin.

You will see the mixture mixing together and it will look very thin until you have about ¼ of a cup left - then you will see it start to thicken. Continue to slowly pour in grease and oil until finished.

Let food processor spin about another 30 seconds or so to emulsify the last few drops.

Using a spatula, gently scoop your mayo into air tight containers and refrigerate. Enjoy your Baconnaise in salads, on veggies, and my favorite - BLT lettuce wraps!

whole30 bacon mayo

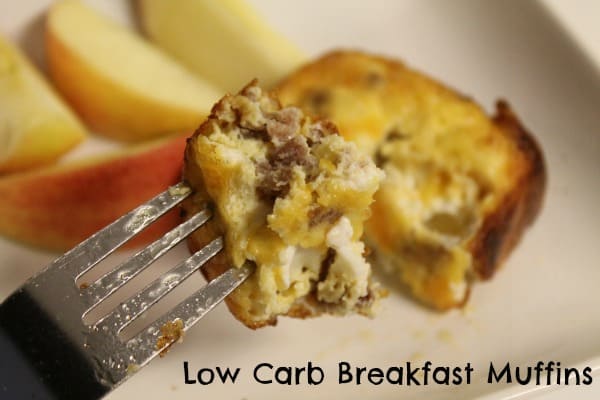
Low Carb Breakfast Muffins Recipe

By 15 Comments

One of the toughest meals of the day for me is breakfast.  I am seldom hungry in the mornings and I am not a big fan of "breakfast foods." However, every single thing you read tells you that "breakfast is the most important meal of the day" and that is especially true if you are looking to shed a few pounds.  I tried doing "shakes" for breakfast, but I have yet to find one that doesn't make me sick as a dog within an hour of drinking it, or make me ravenous hungry which to me kinda defeats the purpose of a "meal replacement" shake if it all it does is make me WANT a real meal.  I wanted something healthy, easy, and tasty... and I found it perfectly!

[Read more...]

  • « Previous Page
  • 1
  • …
  • 5
  • 6
  • 7


Looking For a Specific Recipe? Find It Here!

Copyright © 2023 Moscato Mom • All Rights Reserved • Site Powered by The One Stop Blog Shop

Wait! Get Your Free Keto Cookbook Before You Go

No more dinner time stress! This cookbook helps you prepare 10 keto freezer meals in only 30-minutes and it's yours today for free.

Your Name
Your Email

No thanks, I’m not interested!