 A few weeks ago the girls and I spent a whole day making and decorating Cake Pops from our Babycakes Cake Pop Maker. Now, if you have been a MoscatoMom Reader for long, you know that my favorite part about the Babycakes Cake Pop Maker is that you can make so many more things than just cake pops - like cinnamon roll pops, corndog pops, and blueberry muffin pops. But this day we wanted to make true cake pops - and decorate them all up for Easter. It was a blast.
The first ones we made were the Easter Bunny Pops which were sooo very simple. The Easter Sheep Pops were not quite as simple but still just as cute. While we were perusing online we saw a picture on Wilton's page of Easter Basket Cake Pops. We knew we just had to make them. These were - by far - our favorite.
Easter Basket Cake Pops
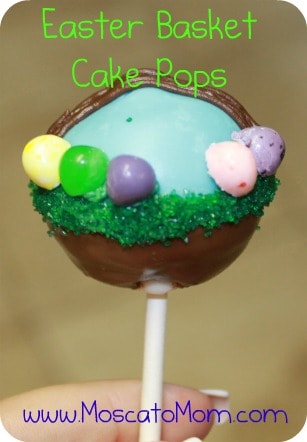 Ingredients:
- Cake Mix – I recommend Pillsbury Funfetti
- Blue Candy Melts
- Chocolate Candy Melts
- Green Candy Melts
- Small Multicolored Jellybeans
- Green Sugar Sprinkles
- Piping bag with Small Tip
- Babycakes Cake Pop Maker
- Cake Pop Sticks
- Cake Pop Stand (optional)
Mix your Funfetti Cake Mix as directed on the box. Spoon one teaspoon into each spot in your Babycakes Cake Pop Maker. Let cook four minutes. Use the fork to put onto a cookie sheet and put into the freezer for one hour.
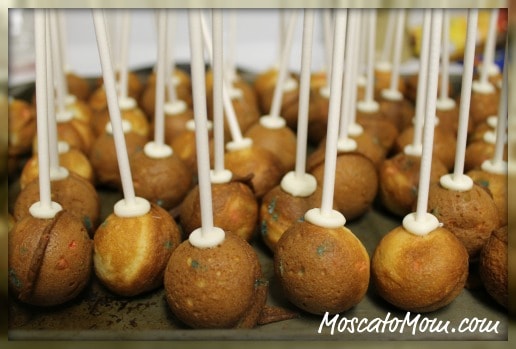
Melt three or four candy melts and dip the ends of your sticks into the melt and into the cake pop. Set upside down on a cookies sheet and put back into the freezer for another hour. You should then have a cookie sheet that looks like this -
Next, melt your chocolate candy melts and coat each cake pop entirely. Set in your Cake Pop Stand to let the candy harden and cool- about an hour. DO NOT PUT INTO THE FRIDGE - if they get too cold the candy will "sweat" and the next part will not work.
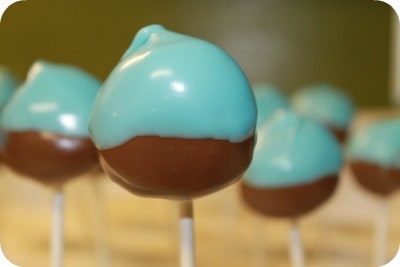
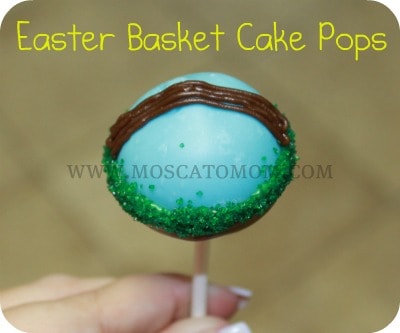
Once the chocolate is completely hardened, melt your blue candy melts and gently dip the Cake Pops upside down half way into the blue candy. Set them back into the Cake Pop Stand to harden again. Your Easter Basket Cake Pops should look like this:
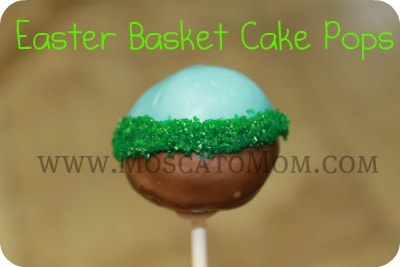
After the candy has completely hardened around the Cake Pop, melt your green candy melts and put into your piping bag. Pipe a line of candy around the edges where the chocolate and blue candy meets, and quickly dip into the green sugar sprinkles. This makes your "grass" inside of the basket.
Next put the rest of your chocolate candy melts into a piping bag, and pipe the "handle" for your basket. Since I had a very small tip I put four lines together to make it a bit thicker. You could also use a wider flat tip for this.
For the "Easter Eggs" cut the ends off of small Jelly beans, leaving some in the middle - in other words you should have three pieces from each jellybean - two "eggs" (each end) and a middle to snack on... because let's face it, by this time you are probably starving... or ready to eat the cake pops - eggs or not!
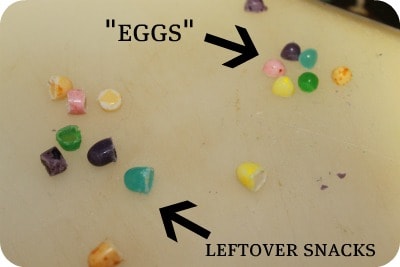
Pipe a dot of leftover candy melts to help them "stick" and place them randomly on the "grass." Let your finished cake pops set for at least 20 minutes to make sure your eggs stay put.
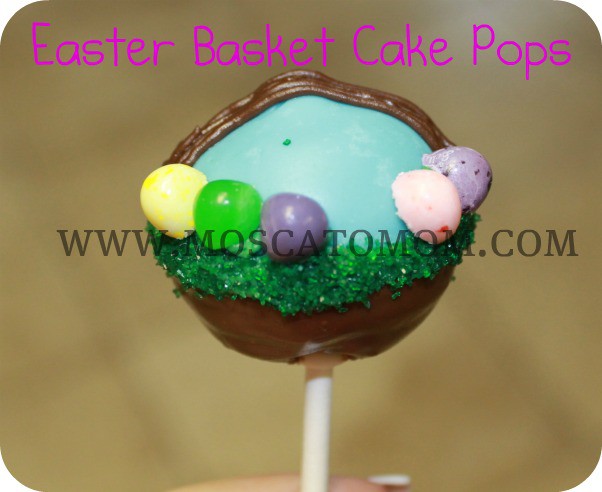
These Easter Basket Cake Pops took much longer to make than any of the other Easter Cake Pops - but they were still a blast! The girls had fun helping - and eating - the leftover decorations as we were making them.
Love these? Check out my Easter Bunny Cake Pops, Easter Chick Cake Pops, and Easter Sheep Cake Pops!
![]()
Paula @ Frosted Fingers says
Very cute!
Whitney at It's Gravy, Baby! says
These are absolutely adorable, but I would never, ever have the patience make them myself. You should go into the cake pop business!
Jenn says
I'd rather decorate these than eggs!
Emily says
These are so fun! You are cranking out the cake pops aren't you!
Ann Odle says
These are just too cute to eat (which would be a good thing for me!). I agree with Jenn--I'd rather decorate these than Easter Eggs!
Henrietta says
Aww! These are just so cute! I want them!