Last year when I made the Rudolph Cake Pops and Snowman Cake Pops, we had so much fun I planned to make them again. However my friend Sara suggested I try my hand at Elf Cake Pops.... and well, I am always up for a challenge.
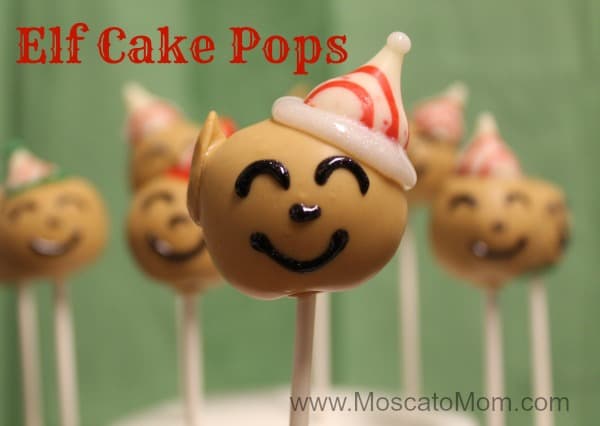
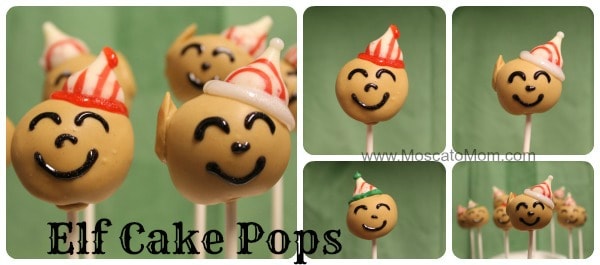
Now, I thought about doing the "Elf on the Shelf" cake pops, but truth is that thing seriously creeps me out. I wanted something more whimsical - something more like the elves from the Rudolf movie. And though they do not look quite the way I had envisioned, they still are pretty darn cute.
Elf Cake Pops
Ingredients:
- Funfetti cake mix
- 3 regular sized eggs
- oil
- water
- candy melts - I used the peanut butter ones for the color
- jewel candy mold - to make the "ear"
- Hershey's Hugs
- Wilton Sparkle Gel
- Lollipop Sticks
- Babycakes Cake Pop Maker
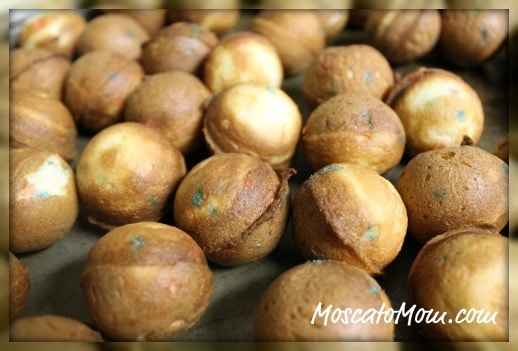
Begin by mixing your Funfetti cake mix and ingredients exactly as the box instructs you to. Pillsbury cake mix works best with the Babycakes Cake Pop Maker from my experience, not to mention it tastes the best. Spoon a teaspoon of mix into each spot and let cook for four minutes. Fork out the tiny little pop onto a cookie sheet. Once you have used all of your mix, run the cookie sheet into the freezer for at least an hour.
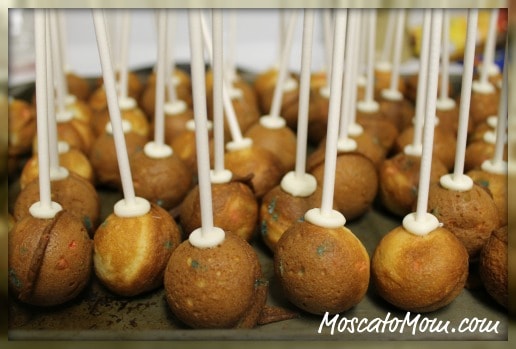
Next you want to securely fasten the sticks to the cake pops so that they will not fall off when dipping into the candy coating. The best way to do this is to melt 5 or 6 candy melts in a bowl and dip the end of each stick into the melt, and then at least half way into the cake pops. Then run them all back into the freezer for at least another hour - longer if possible. You want to cake pop as cold as you can get it (no they will not freeze solid) and the stick as secure as possible.
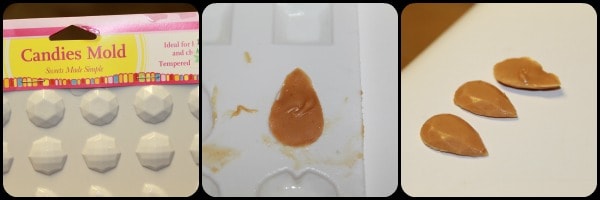
While the cake pops are freezing, it is time to make the "ears." Now let me say, I wasn't sure how in the world I was going to do this until I saw this jewel candy mold and the perfect shape for an elf ear -
I liked to put my Hershey Hugs "hat" off to the site so that my elf only needed one ear, however, you can do this however you want - just make sure you have enough ears made before you start icing - you will need to place them pretty quickly. You also want to unwrap your Hershey Hugs and place them on a plate so they are easily grabbed.
Once your cake pops are securely frozen to their sticks, melt a deep bowl worth of candy melts and get as "assembly line" including your cake pops, Hershey Hugs, and "ears." Gently dip each cake pop into your melts, coating the entire pop and let the excess fall off - you do not need a real thick coating of this stuff - the thicker it is, the harder it is to decorate.
Quickly place your Hershey Hugs "hat" in place and hold for a few seconds, as well as your "ear" in the right place/proportion to your hat. Place in your Cake Pop Rack and let them cool/harden completely. Then use your Wilton Sparkle Gel to decorate however you want! I did not put ears on all of mine and like them all the same.
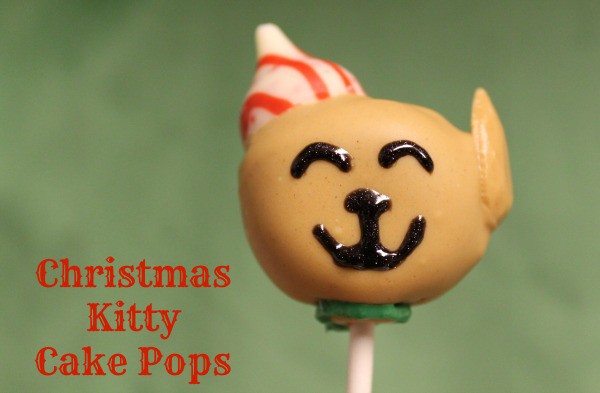
And of course, what is a bunch of elves without a few Elf Kitties?
Paula @ Frosted Fingers says
They turned out super cute Lyns!
Sara Phillips says
I LOVE THEM!!
I really wondered how you made that ear, the jewel try is perfect!
Summer Davis says
They are SO, SO cute, Lynsey! You'll have to play around with your cake pop maker and see if you can make a Paleo cake pop!
And I just want to lick that kitty. Meow!
Dina Lindquist says
These are adorable! They look happy. 🙂
Richard Hicks says
These are so cute. Kids would get a kick out of helping to make them
Darcy Koch says
I love these. They would be great for a child's birthday, a baby shower, etc. And they sound easy enough to make.
Chrissy says
these are so cute! If I get brave enough I'm going to try making them with my daughter during our Christmas vacation!