
It's the most wonderful time of the year... and the perfect time for these delicious and fun Keto Gingerbread Cookies. Just because it is the holidays does not mean you need to abandon your goals! These keto cookies taste so good you will not miss the carbs at all!

I have not made homemade gingerbread cookies in probably 20 years - so I was excited when my daughter asked to make them. I wanted to make Keto Gingerbread Cookies so we could indulge this holiday without going off the rails.
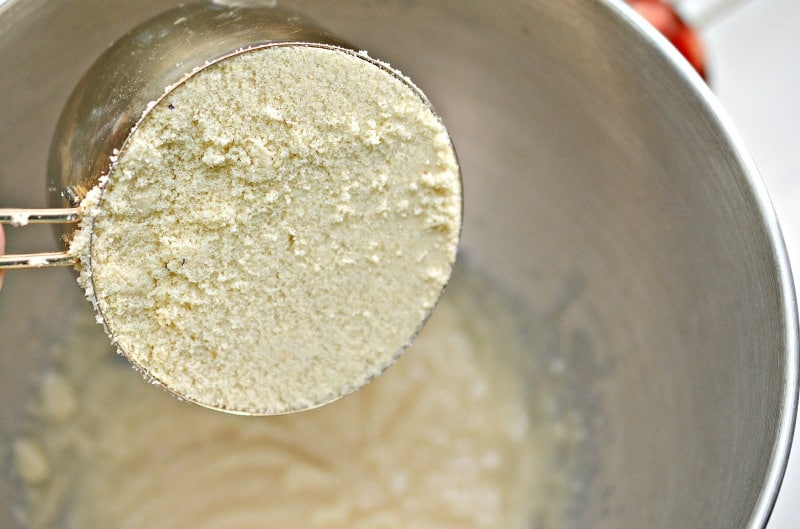
I used all of my favorite Keto Baking Staples - Oh Nuts Almond Flour and Lakanto Monk Fruit Sweetener are two ingredients you will ALWAYS find in my kitchen.

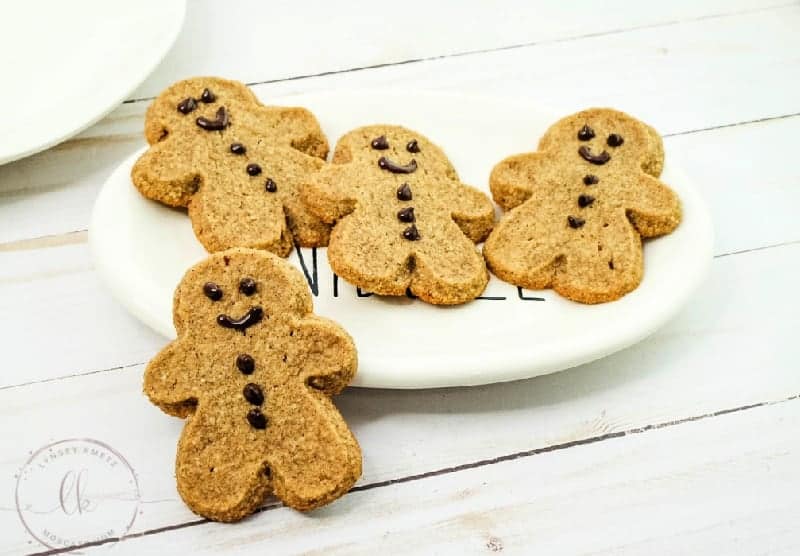
I also was SO super impressed with how well the Keto Chocolate Chips from Explorado Market melted and piped on perfectly to make my little Keto Gingerbread Cookies faces!
Explorado Market has all kinds of delicious Keto Baking Goods - use promo code MOSCATOMOM to save 20% off your order!

Now my Keto Peanut Butter Cookies are hard to beat - but I think these Keto Gingerbread Cookies are even better.
Keto Gingerbread Cookies
Ingredients:
- 2 cups almond flour
- ¼ cup coconut flour
- 1 cup Lakanto Golden Monk Fruit Sweetener
- 1 tablespoon cinnamon
- 1 tablespoon ground ginger
- ¼ teaspoon ground cloves
- ⅛ teaspoon ground nutmeg
- ¼ teaspoon pink Himalayan salt
- 1 ½ teaspoon baking powder
- ¾ cup butter, softened
- ½ tablespoon molasses
How To Make Keto Gingerbread Cookies:
Begin by whisking together all dry ingredients - almond flour, coconut flour, cinnamon, ginger, cloves, salt, and baking powder.
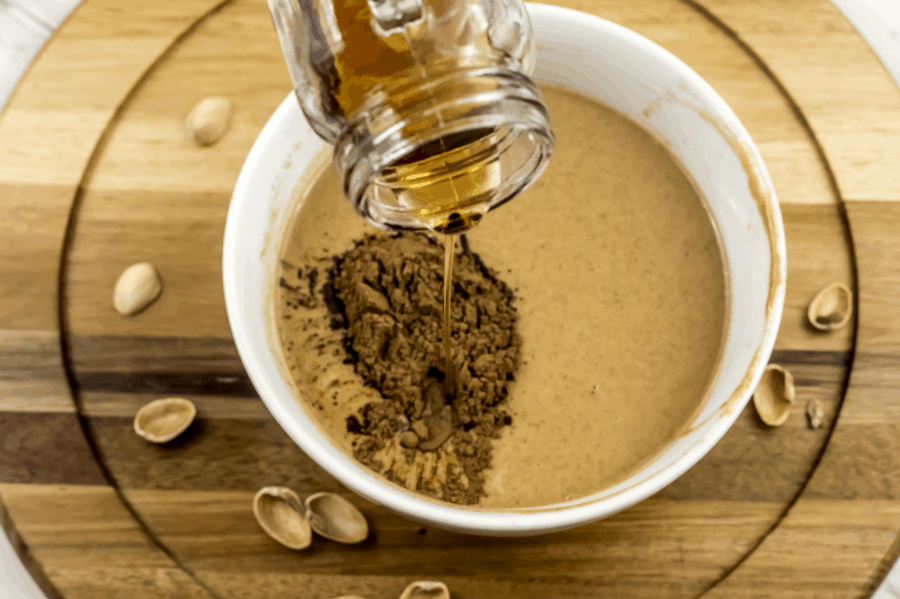
In a stand mixer, beat together softened butter and monk fruit sweetener. Add in molasses and mix until well combined.
Slowly add in dry ingredients and mix well.
Form dough into a large ball, cover and refrigerate for at least 30 minutes.
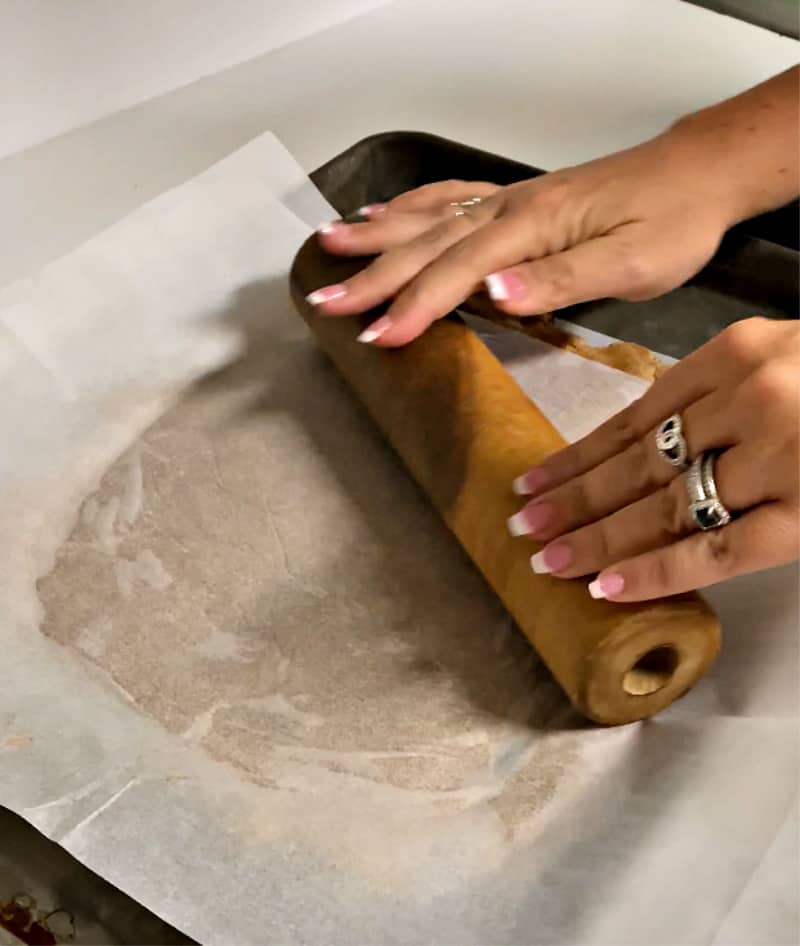
Remove dough from refrigerator and place between two pieces of parchment paper.
Using a large roller, roll dough to about ¼ thickness. Return to refrigerator for another 30 minutes.
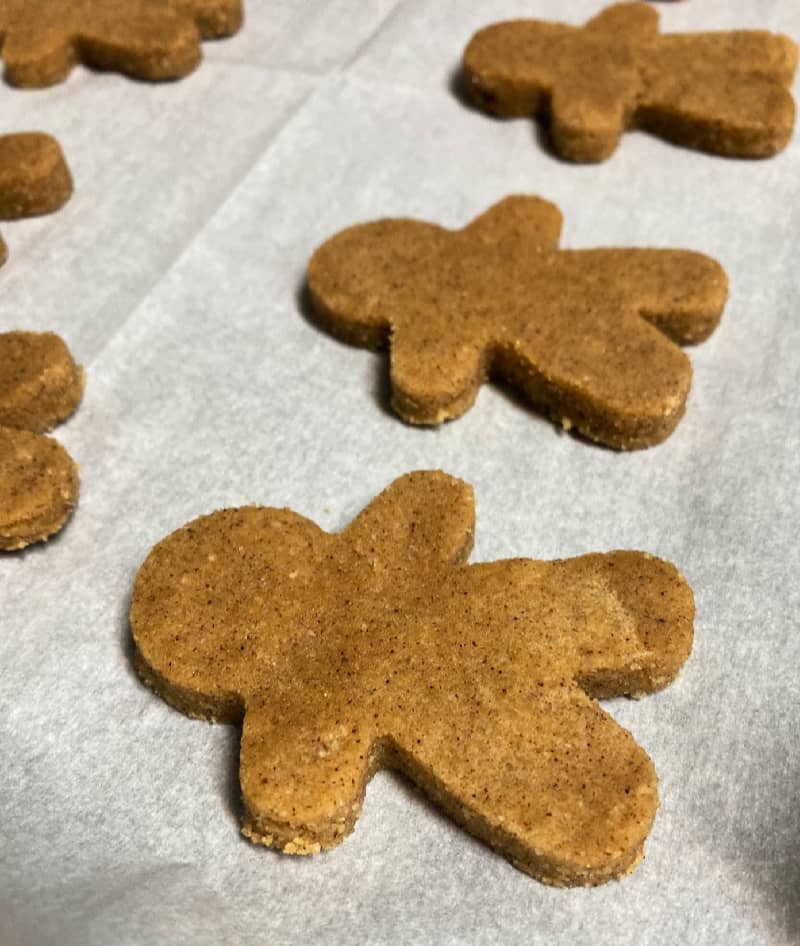
Remove dough and using cookie cutters, cut out your Keto Gingerbread Cookies and place on parchment-lined cookie sheets.
Place cut cookies into the freezer for 20 minutes or refrigerator for one hour to prevent spreading.
Preheat oven to 325*.
Bake cookies in preheated oven 12-15 minutes or until edges begin to set. Cookies will still be super soft to the touch.
Let cool completely before removing from the cookie sheet - approximately 30 minutes.
Decorate your Keto Gingerbread Cookies as desired using Keto Friendly Chocolate Chips or for white icing, mix Swerve Confectioners Sugar with a few drops of almond milk.
Keto Gingerbread Cookies

It's the most wonderful time of the year... and the perfect time for these delicious and fun Keto Gingerbread Cookies. Just because it is the holiday season does not mean you need to abandon your goals! These keto cookies taste so good you will not miss the carbs at all!
Ingredients
- 2 cups almond flour
- ¼ cup coconut flour
- 1 cup Lakanto Golden Monk Fruit Sweetener
- 1 tablespoon cinnamon
- 1 tablespoon ground ginger
- ¼ teaspoon ground cloves
- ⅛ teaspoon ground nutmeg
- ¼ teaspoon pink Himalayan salt
- 1 ½ teaspoon baking powder
- ¾ cup butter, softened
- ½ tablespoon molasses
Instructions
- Begin by whisking together all dry ingredients - almond flour, coconut flour, cinnamon, ginger, cloves, salt, and baking powder.
- In a stand mixer, beat together softened butter and monk fruit sweetener. Add in molasses and mix until well combined.
- Slowly add in dry ingredients and mix well.
- Form dough into a large ball, cover and refrigerate for at least 30 minutes.
- Remove dough from refrigerator and place between two pieces of parchment paper.
- Using a large roller, roll dough to about ¼ thickness. Return to refrigerator for another 30 minutes.
- Remove dough and using cookie cutters, cut out your Keto Gingerbread Cookies and place on parchment-lined cookie sheets.
- Place cut cookies into the freezer for 20 minutes or refrigerator for one hour to prevent spreading.
- Preheat oven to 325*.
- Bake cookies in preheated oven 12-15 minutes or until edges begin to set. Cookies will still be super soft to the touch.
- Let cool completely before removing from the cookie sheet - approximately 30 minutes.
- Decorate as desired using Keto Friendly Chocolate Chips or for white icing, mix Swerve Confectioners Sugar with a few drops of almond milk.
Notes
It is incredibly important that you freeze cut cookies before baking to ensure they keep their shape.
Cookies will not appear to be "done" when you remove them from the oven - be careful not to overcook.
Nutrition Information:
Yield:
36Serving Size:
1Amount Per Serving: Calories: 78Total Fat: 7gSaturated Fat: 3gTrans Fat: 0gUnsaturated Fat: 4gCholesterol: 10mgSodium: 62mgCarbohydrates: 3gNet Carbohydrates: 0gFiber: 1gSugar: 1gSugar Alcohols: 0gProtein: 2g
Nutrition calculations based on exact ingredients used and may vary between brands. For exact macro measurements, always calculate your own macros using the exact ingredients that you use.


 Ingredients:

 Ingredients:


 While perusing Pinterest a few weeks ago I saw a pin I just knew I had to do -