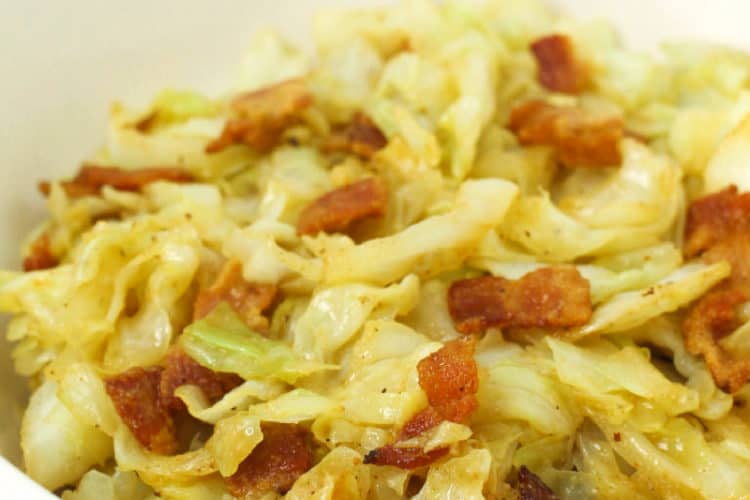
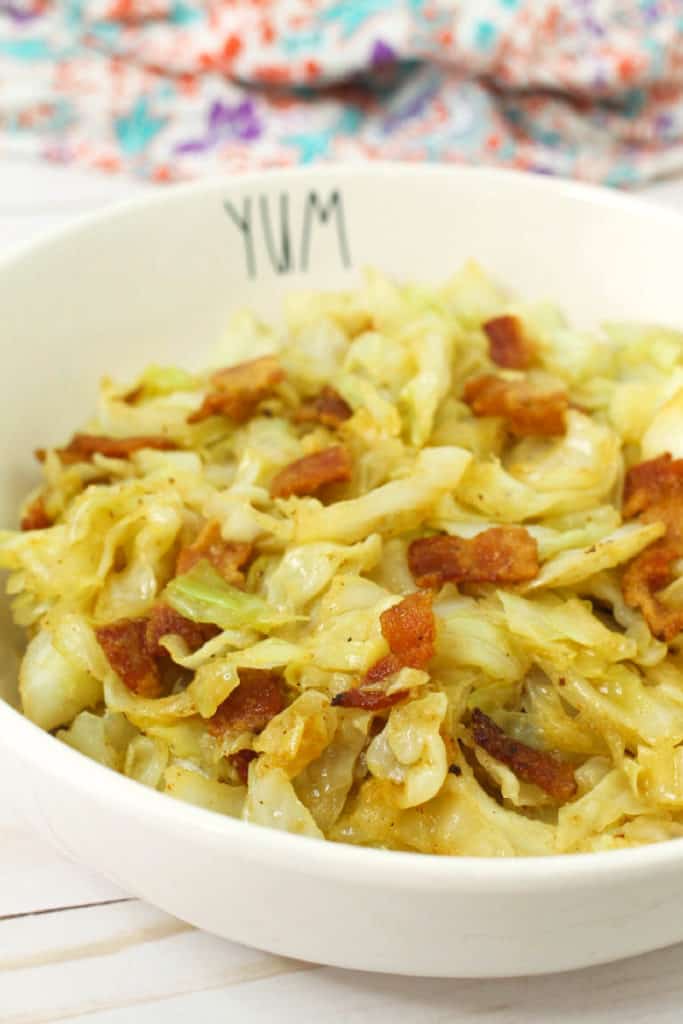
This Keto Fried Cabbage with Bacon is a super easy keto side dish that goes perfectly with most any keto entree. This savory fried cabbage recipe is a crowd favorite.
Is Cabbage Ok on Keto?
Cabbage is great to eat on keto for several reasons. First, shredded cabbage has only about 2 grams of net carbs per cup, so you can enjoy a good volume without going over on your carb count.
Cabbage is also low in calories while being high in fiber and vitamin K which is essential for mental focus.
Cabbage is also a very versatile keto vegetable and can be enjoyed in salads, coleslaws, seafood tacos, lettuce wraps, soups, and more.
Fried Cabbage with Bacon is an easy side dish that has almost perfect macros and will please even the non-keto crowd.
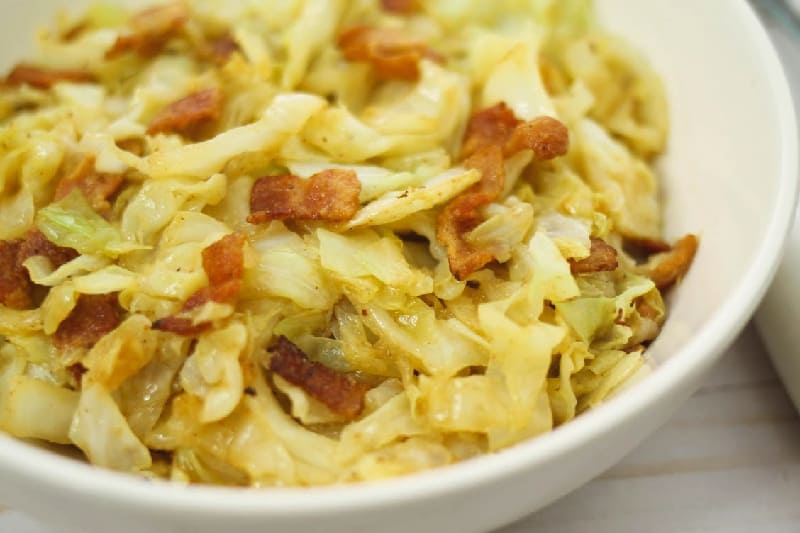
Some fried cabbage recipes include sugar - but I prefer a savory cabbage dish. Bacon and cabbage just make the perfect pair.
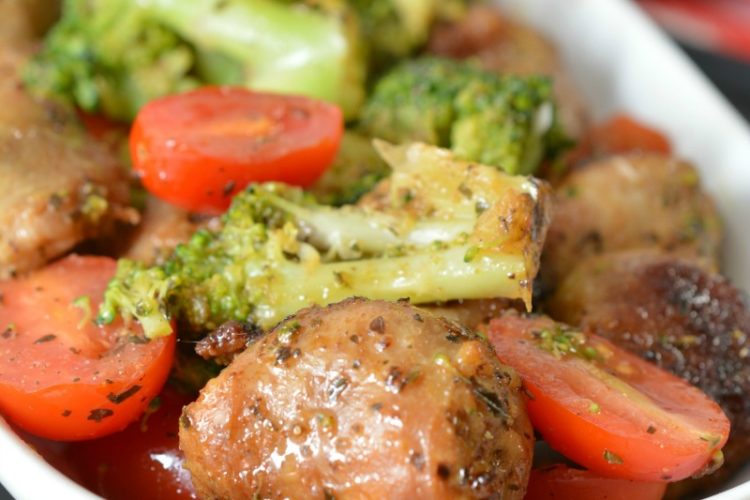
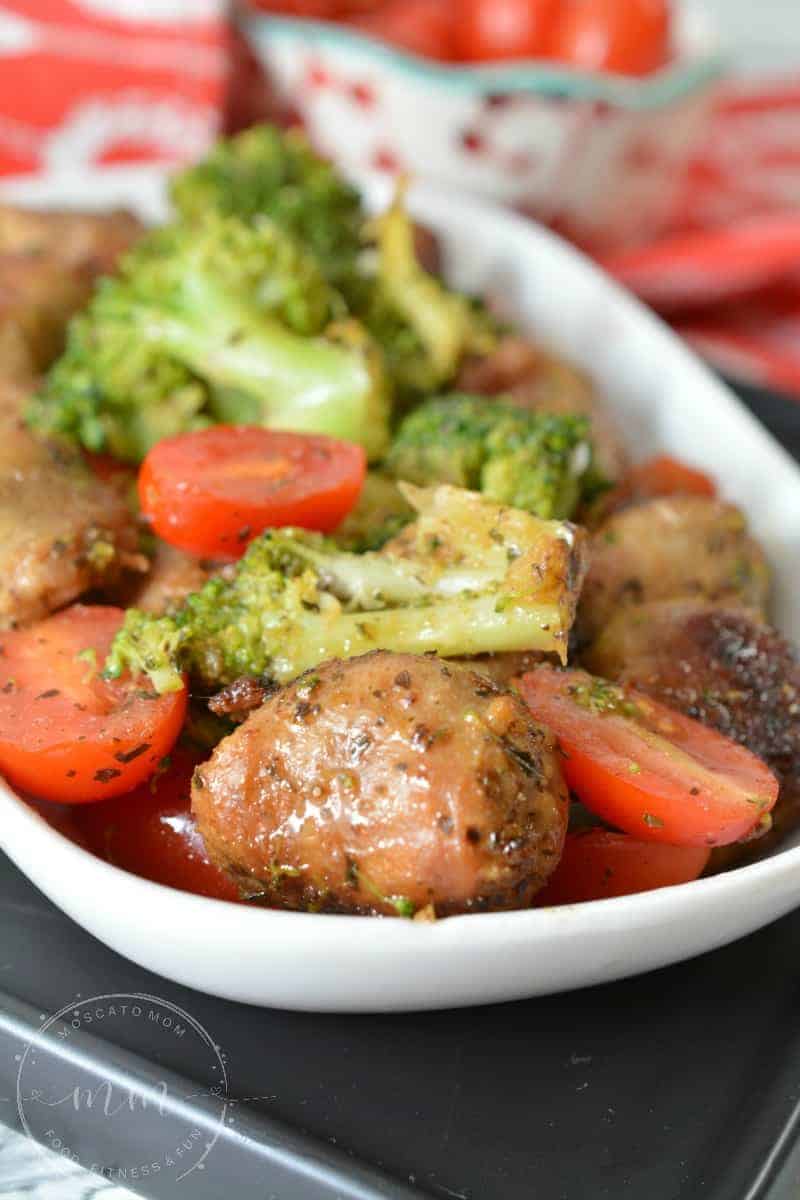
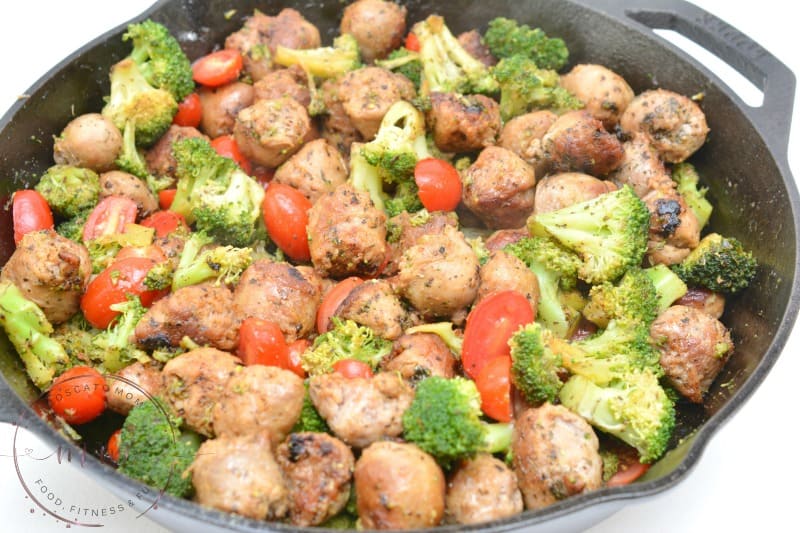
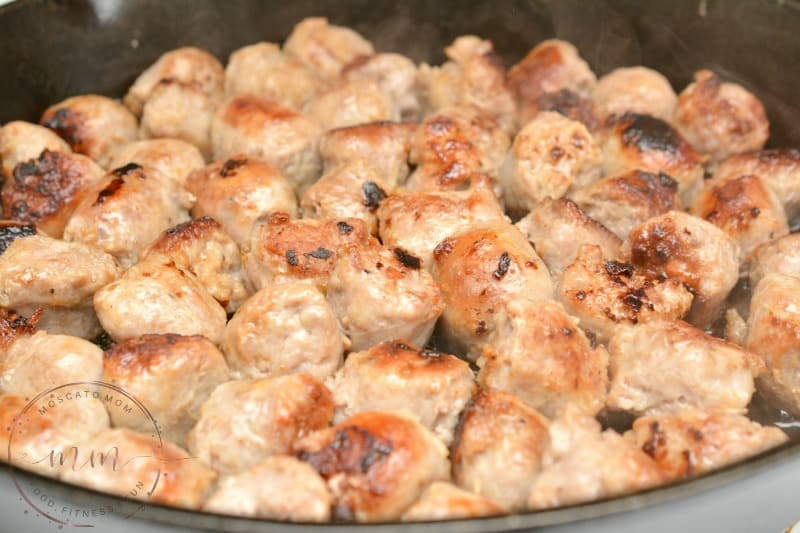
You can even add in your favorite sausage for a delicious fried cabbage with sausage that is a complete meal in one pan!
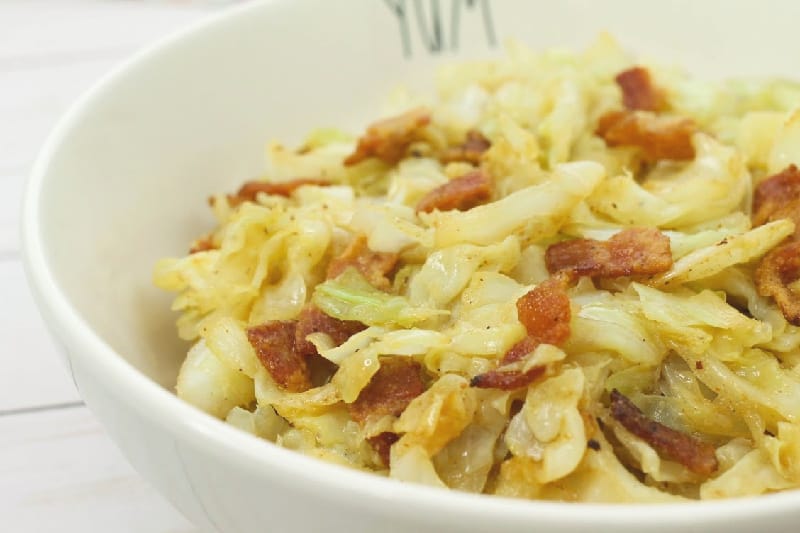
Keto Fried Cabbage with Bacon is perfect for meal prep because it reheats easily.
Keto Fried Cabbage With Bacon
Ingredients:
- 4 cups fresh green cabbage, shredded
- ½ pound thick-cut bacon, cut in pieces
- 2 tablespoon butter, divided
- ½ tablespoon onion powder
- ½ tablespoon garlic powder
- 1 teaspoon pepper
- 1 teaspoon salt
Instructions:
Melt 1 tablespoon butter in a frying pan on medium-high heat and add bacon pieces.
Cook bacon thoroughly. Remove from the frying pan leaving butter and grease and set aside.
Add shredded cabbage to the frying pan. Cabbage will begin to wilt and cook down in bacon grease and butter.
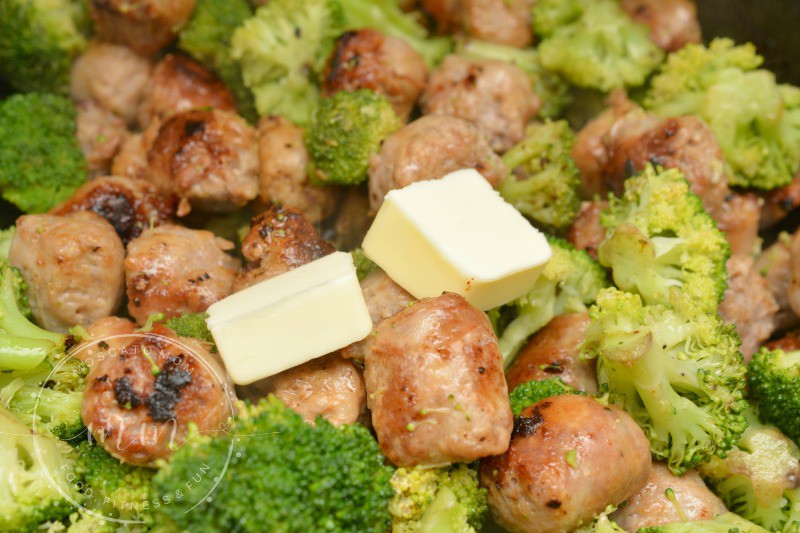
Add an additional tablespoon of butter and seasonings.
Let cabbage cook down to desired firmness.
Add bacon to cabbage and mix well.
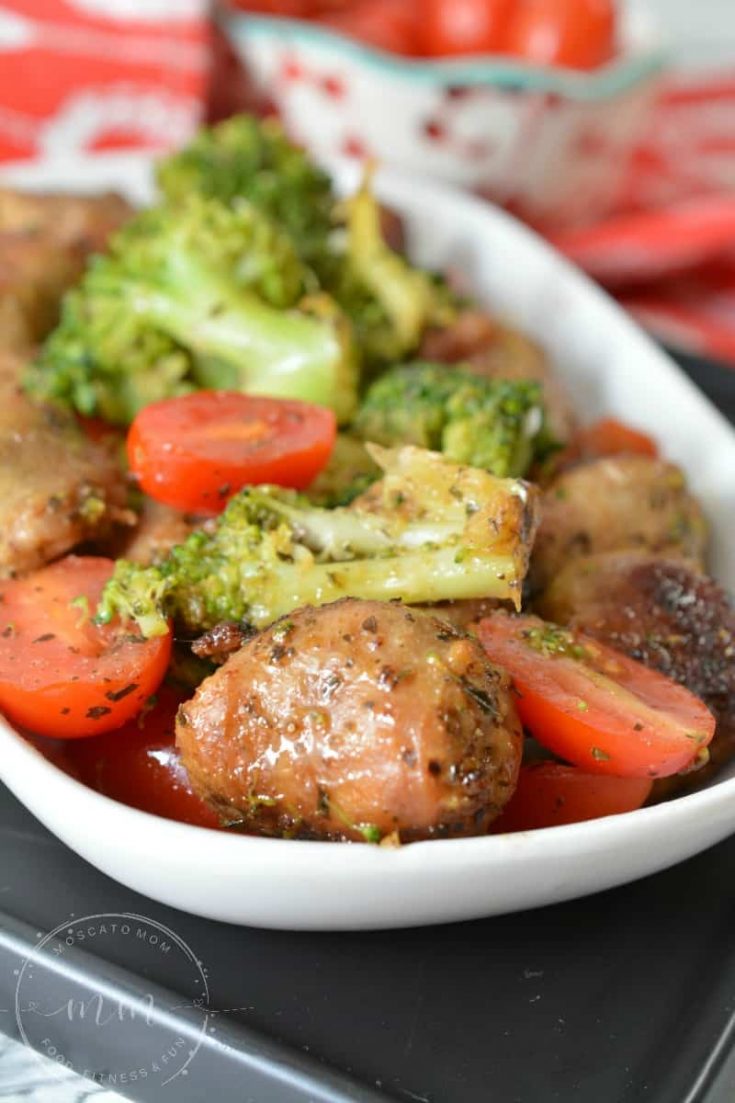
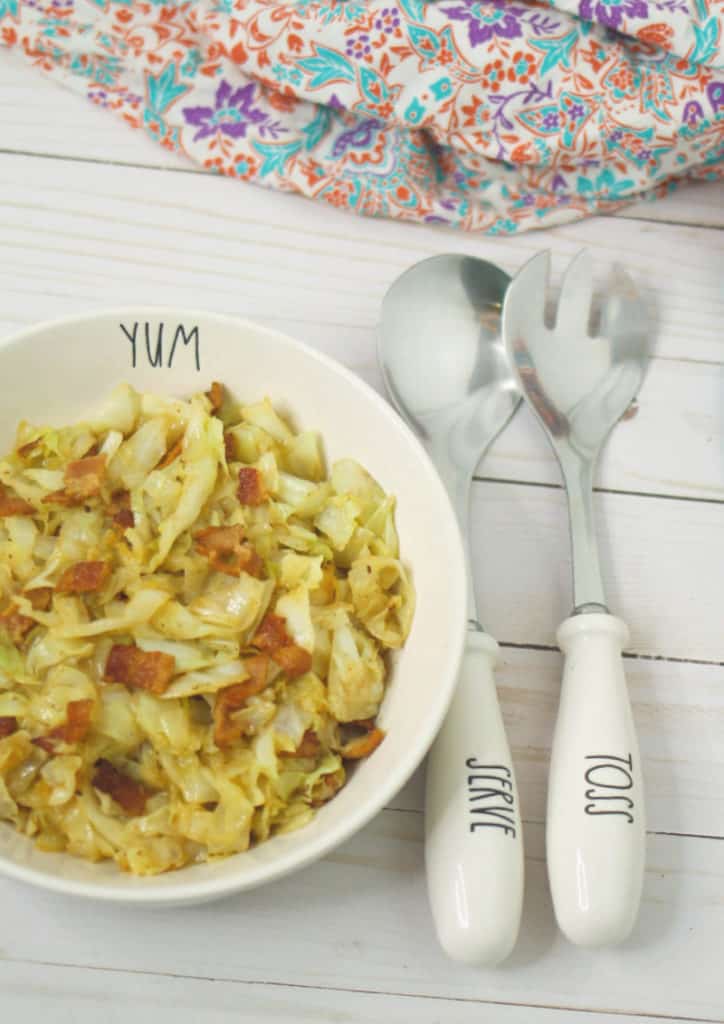
Serve hot alongside your favorite keto entree.
Keto Fried Cabbage with Bacon
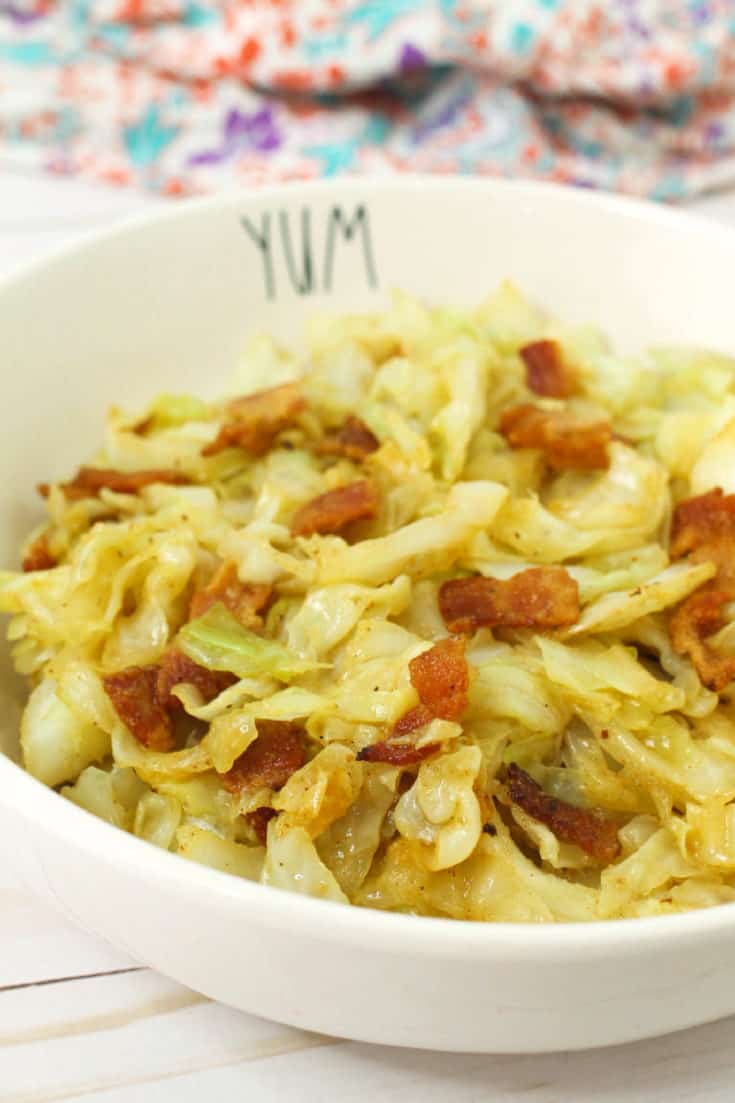
This Keto Fried Cabbage with Bacon is a super easy keto side dish that goes perfectly with most any keto entree. This savory fried cabbage recipe is a crowd favorite.
Ingredients
- 4 cups fresh green cabbage, shredded
- ½ pound thick-cut bacon, cut in pieces
- 2 tablespoon butter, divided
- ½ tablespoon onion powder
- ½ tablespoon garlic powder
- 1 teaspoon pepper
- 1 teaspoon salt
Instructions
- Melt 1 tablespoon butter in a frying pan on medium-high heat and add bacon pieces.
- Cook bacon thoroughly. Remove from the frying pan leaving butter and grease and set aside.
- Add shredded cabbage to the frying pan. Cabbage will begin to wilt and cook down in bacon grease and butter.
- Add an additional tablespoon of butter and seasonings.
- Let cabbage cook down to desired firmness.
- Add bacon to cabbage and mix well.
- Serve hot alongside your favorite keto entree.
Nutrition Information:
Yield:
8Serving Size:
1Amount Per Serving: Calories: 180Total Fat: 13gSaturated Fat: 5gTrans Fat: 0gUnsaturated Fat: 7gCholesterol: 36mgSodium: 798mgCarbohydrates: 6gNet Carbohydrates: 0gFiber: 2gSugar: 2gSugar Alcohols: 0gProtein: 11g